Travel Trailer Inspection Checklist: 13 Places Towables Hide Problems
By Della Marsh · November 1, 2026
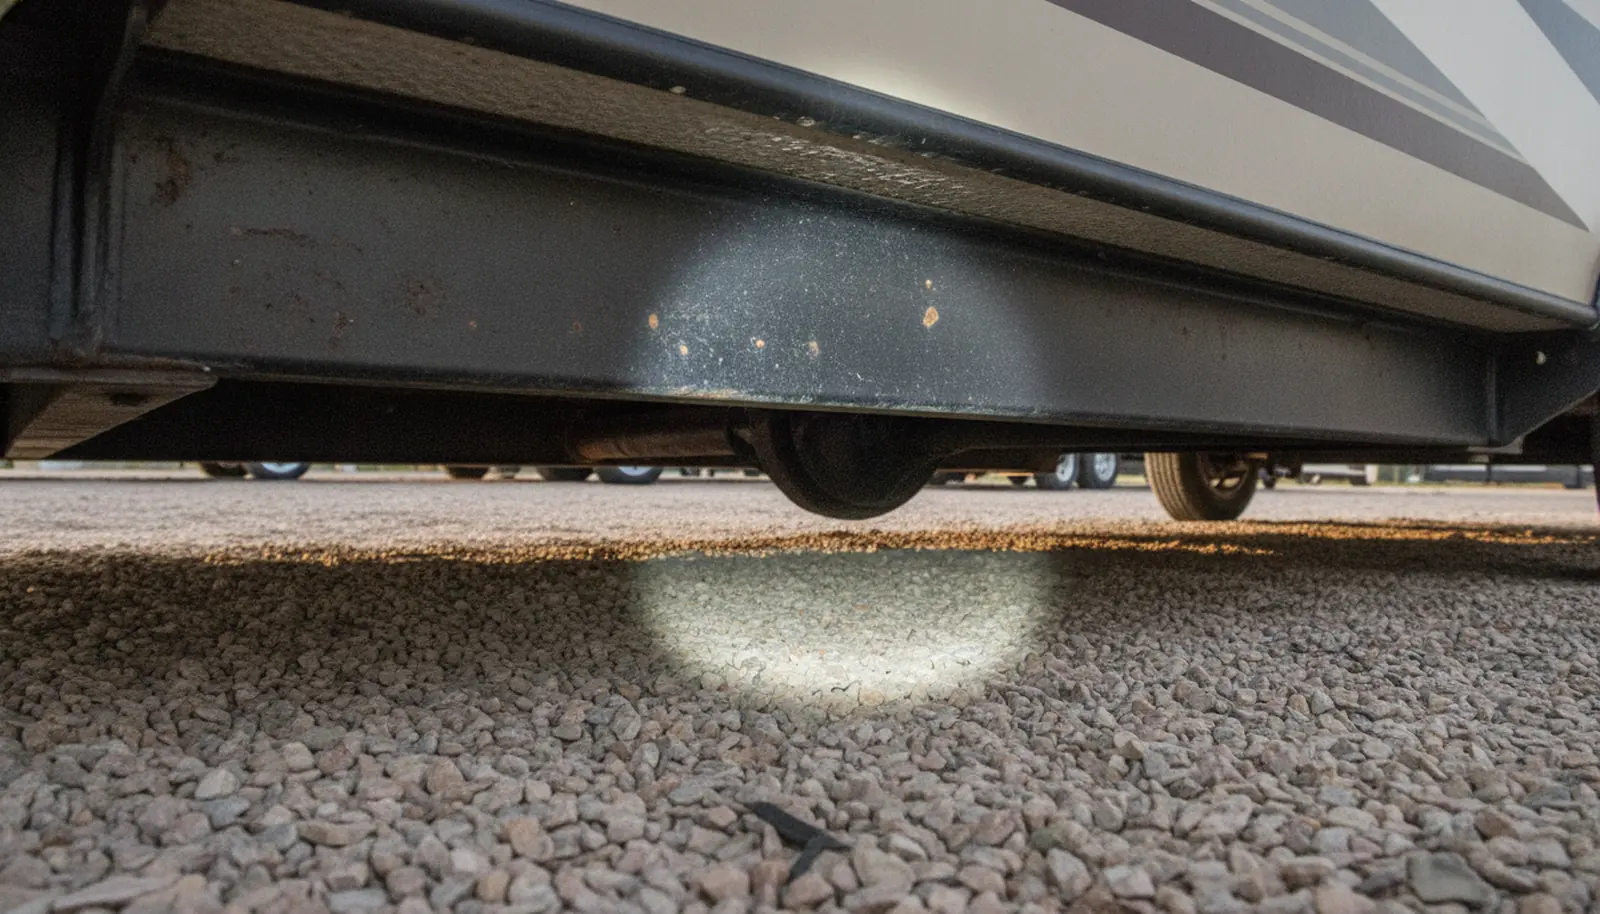
Last May I was under the rear bunk of a 2021 travel trailer in a storage lot off I-35W, flat on my back with a moisture meter, doing what pre-purchase RV inspectors in Fort Worth do. That’s the RV trailer inspection checklist in action, one item at a time. The seller was up by the hitch, half listening, while my meter pegged 28 percent on the wall under the bunk window, a reading that would have been caught in any thorough RV leak test in Fort Worth. The floor had a give to it that wasn’t right, the kind of softness that often points to hidden mold and calls for an RV mold inspection. That one reading likely saved a family from buying rot dressed in a clean interior, and it’s exactly why a full RV inspection in Fort Worth matters before you sign. I check that exact spot on every towable now, just like any of the experienced RV inspectors across Texas woudl. For a trailer-specific walk-around before money changes hands, the RV inspection checklist: the 15 systems below is the order I follow, front to back, above and below.
1. Tongue and coupler
The coupler is the only thing keeping your travel trailer attached to the ball at 70 mph, and while it’s not part of an RV propane inspection, it’s just as critical to you’re safety. I grasp the coupler latch and try to open it with the lever pinned; it should not budge. Look for cracks around the weld where the coupler meets the A-frame tongue, and run a flashlight down the top and sides of both frame rails to the front crossmember.
2. Safety chains and breakaway switch
Cross the chains under the tongue, as many states require, and pull each link hard; the hooks should stay on the receiver. The breakaway switch cable pulls a pin out of a small switch when the trailer separates; that switch sends battery power to the trailer brakes. With a helper, pull the pin and listen for a click at each brake magnet.
3. Frame rails and crossmembers for rust or cracks
Crawl under with a creeper, after the wheels are chocked and the tongue is on a jack stand. I sweep the light across every rail, looking for a rust blister, a hairline crack at a crossmember weld, or a kink where a previous owner bottomed out.
4. Axles and leaf springs
I sight down each axle from the bumper to make sure both spindles point the same way; a bent spindle might toe the tire out or in. Worn wet bolts on the shackles will let the spring shift and can eat the bolt hole into an oval; that’s a repack job.
5. Tires’ DOT date codes and wear
Tread depth is only half the story. The last four digits of the DOT number are the week and year the tire was made. ‘4721’ means the 47th week of 2021. Guidance from one major tire maker says to have tires over five years old inspected annually and replace at ten years from manufacture even if tread remains, tho many RV owners replace at seven.
6. Brakes and bearings
You can’t see inside the hub, so ask for records: when was the bearings last cleaned and repacked? A major axle maker’s 2026 schedule calls for bearing repack every 12 months or 12,000 miles, and brake lining inspection on the same interval, but check your owner’s manual for your specfic rig.
I found a helpful video that shows a few of these checks in action.
6. Front cap and window seals on the RV trailer inspection checklist
On a used travel trailer, the front cap is the first place water gets in. Around windows, the little divots at the corners are the telltale. A pinhole in butyl tape behind the frame lets water wick into the wall. A moisture meter with pins will tell you in seconds if that wall reads higher than a dry spot on the same material, but a high reading is a reason to dig further, not proof of rot; I take baseline reads all over the cap before I even open the door.
8. Roof edges and penetrations
Ladder first, or drone if you have one. Around the air conditioner gasket, check for a gap wider than a dime; that seal can compress over time and let rain run under the unit. If the roof is EPDM or TPO, its lifespan before recoating varies widely with sun and tree cover, so inspect it regularly rather than relying on a set number of years. But the leak itself can rot the decking under the membrane, and you won’t know untill you pull the ceiling liner.
9. Slide-out seals and floor under the slide
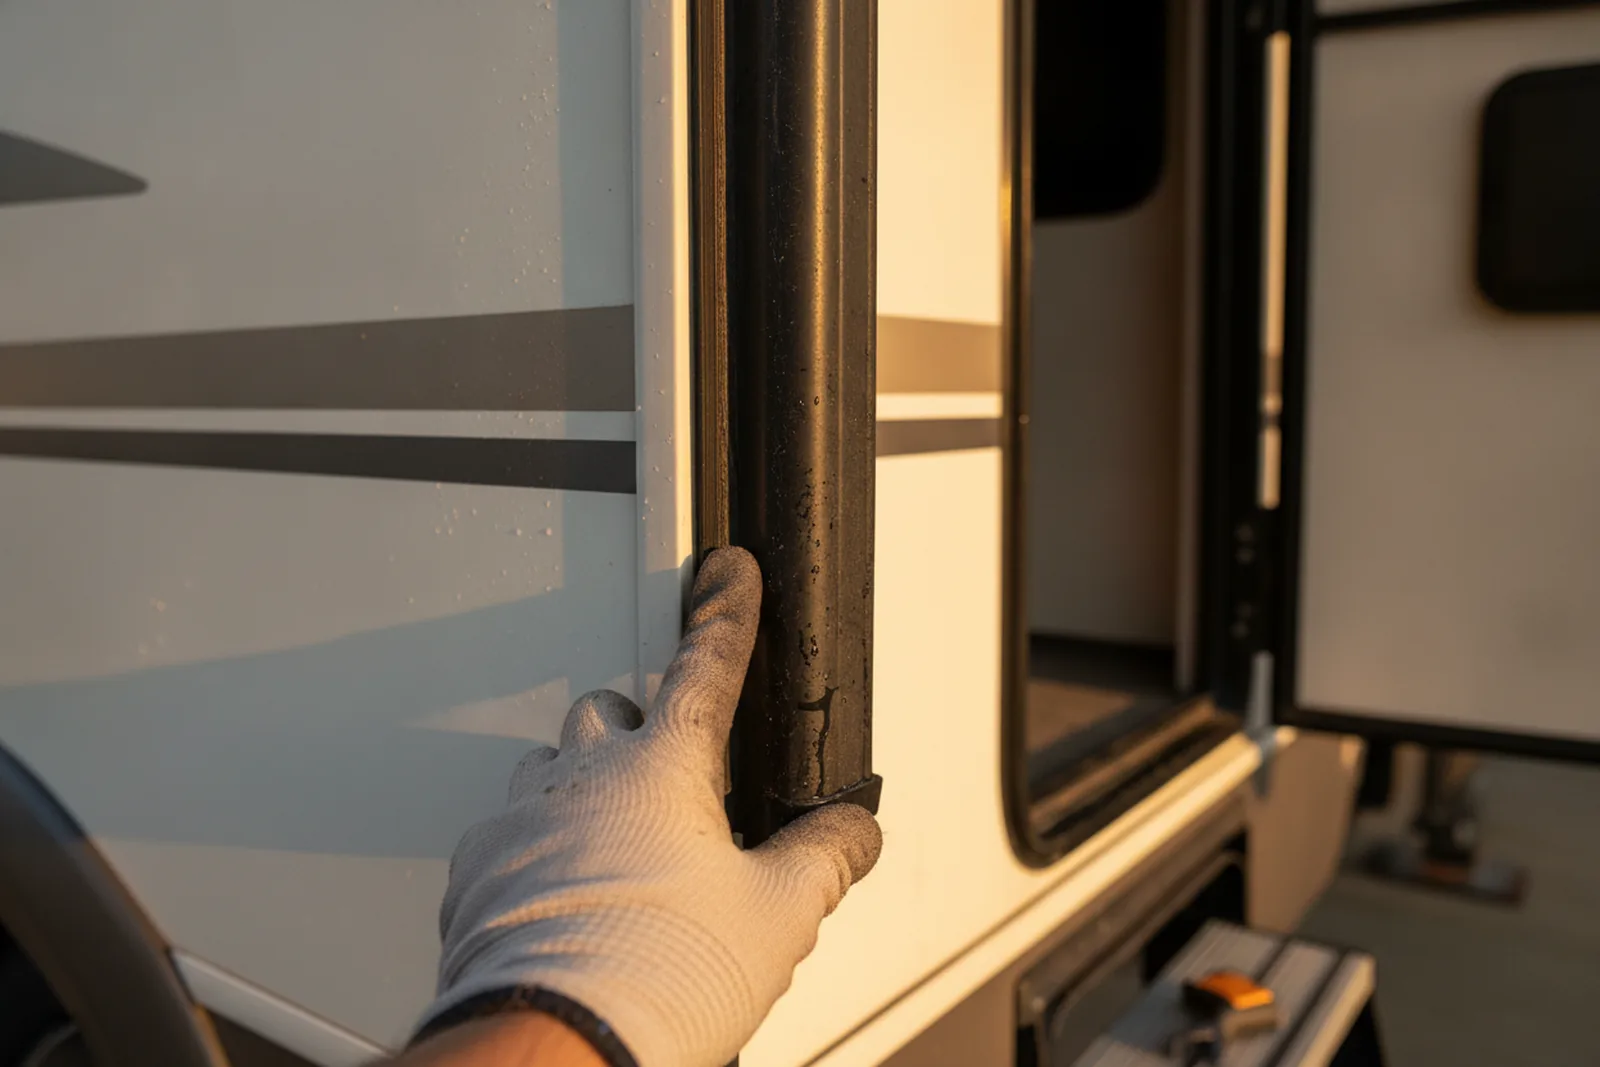
Extend the slide halfway and look at the bulb seals on the side walls and the wiper seals across the top and bottom. A soft spot there can mean the slide opening leaked and rotted the subfloor. If the floor feels spongy when you step inside with the slide deployed, that’s a red flag even if the carpet looks new.
10. Underbelly coroplast sagging
The coroplast is the black plastic sheet screwed to the frame under the trailer. I probe the edges with a flashlight; a rusted screw at the front corner is often a sign the hot water tank leaked overhead. Weighing the underbelly with water is not a roof leak, its a plumbing or tank problem, and it’s much easier to fix before the floor insulation turns into a sponge.
11. Floor soft spots by the door and bathroom
The entry step well and the bathroom floor are the first two places a travel trailer floor rots. A moisture meter with pins is the fastest confirmation: high numbers on the floor but low on the wall above means the leak is from below, not from the side. On any trailer with a bathroom above a slide, the drain has to bend; if that joint failed, the subfloor goes soft. Fixing a soft spot usually means cutting out a section and patching the plywood, then new vinyl; not a deal killer on a well-priced rig, but a bargaining chip.
12. Water heater and furnace compartments
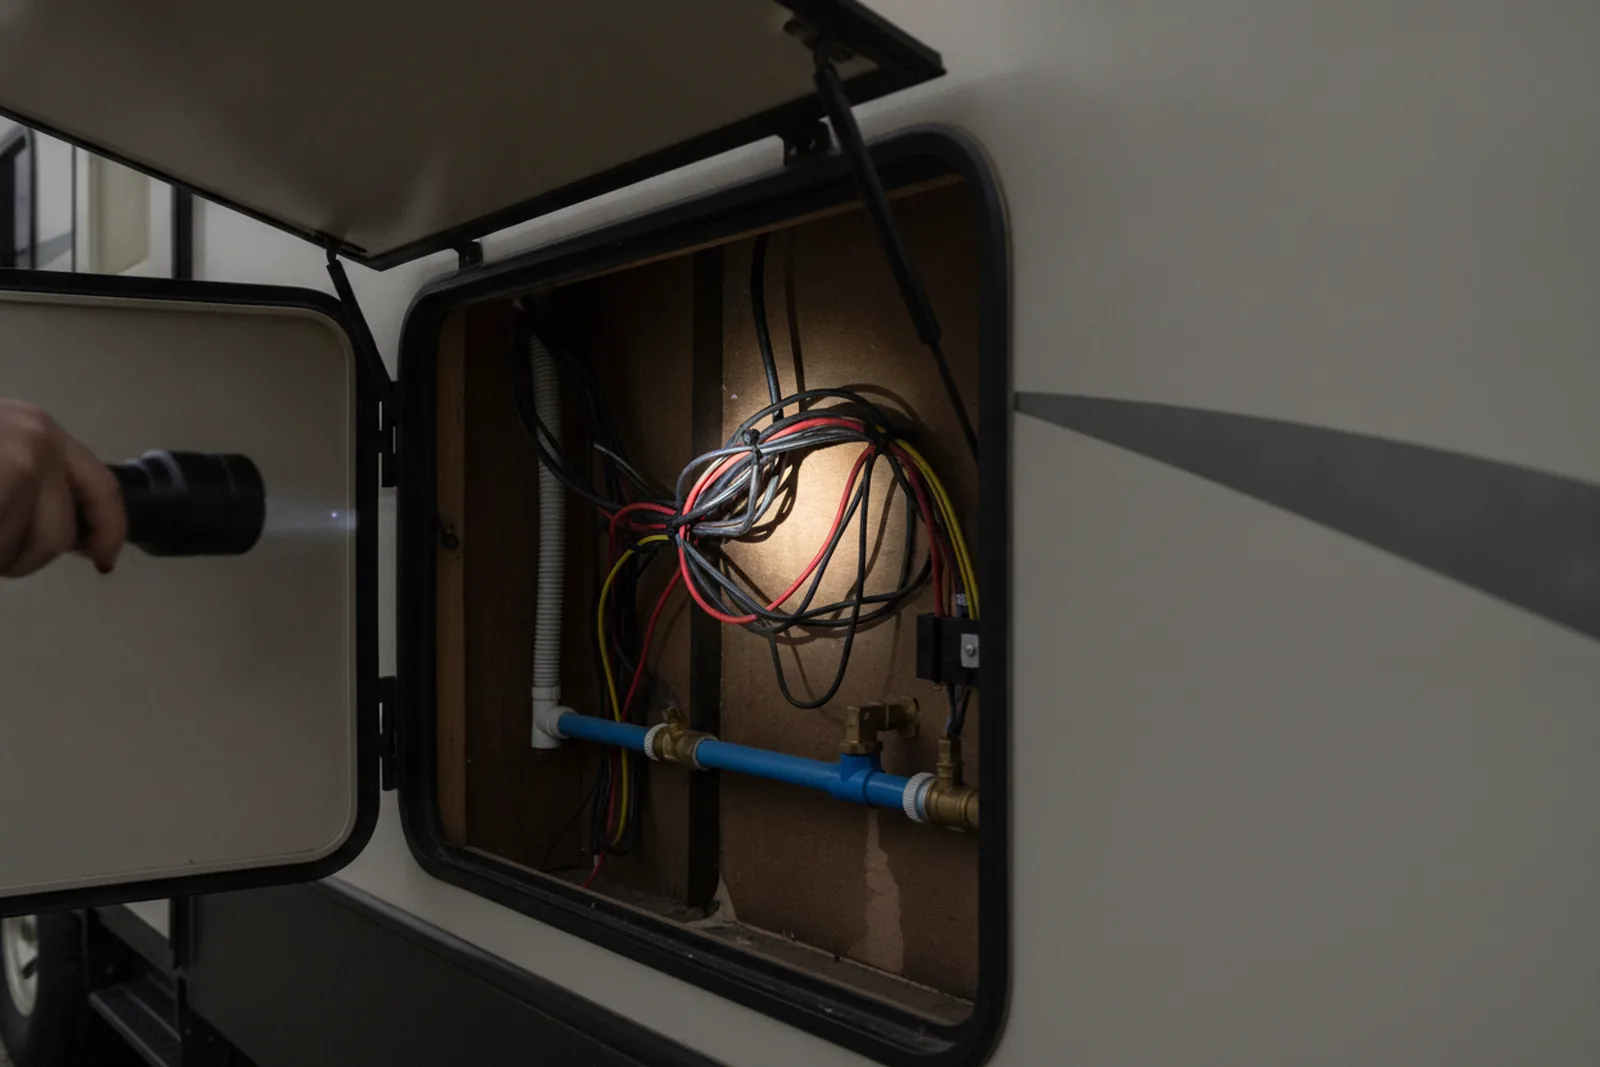
Open the outside access doors on the water heater and furnace. On the furnace, the sail switch and the intake screen are the first to clog with pet hair and Texas pollen; a musty smell when the furnace runs can be a breach in the heat exchanger, which you don’t want. Test both on LP and on shore power if the rig has an electric element. I’d rather find a dead igniter on the lot than on a cold November morning at Lake Whitney.
13. Holding tank valves
On a towable, the black and gray tank valves are out in the open, and a leaking valve means the contents of the tank are sitting in the dump manifold. A black tank valve that leaks is a nuisance, not a trip-ender, but if both valves leak you’re dropping effluent on the next dump station host. Replacing a cable-actuated valve on a travel trailer takes abotu half an hour and a round of gorilla tape. If the tank itself has a bulging side or a cracked fitting, that’s a tank replacement and a much bigger job.
What I’d tell the seller after a walk-around
A quick check catches the deal-breakers, but a trained eye catches the hidden ones. If any of the checks above comes back iffy, or the seller hesitates to let you pull the pin on the breakaway switch, call two or three certified RV inspectors near you and ask what their report includes for a travel trailer your size. Compare prices, ask how long they go under and on the roof, and read a sample report; a printable RV inspection checklist helps you compare their findings against your own walk-around. A trailer that passes ten checks can still roast the turkey in the oven; a trailer that passes all thirteen might still be hiding a wall leak where no one has looked.
Related reading
FAQ
How much does a travel trailer inspection cost in Texas?
A certified inspector in Texas typically charges $350 to $850 for a travel trailer under 30 feet, depending on its size, age, and the inspection depth. Some add travel fees beyond about 30 miles. Ask for a sample report and what the price includes, like a roof walk, LP leak test, and moisture meter.
What fails most often on a used travel trailer?
In my experience, the roof seams and window seals cause the most damage. Lap sealant cracks and butyl tape dries out, letting water into the walls and floor. Delamination on a fiberglass cap can show up as a wave in the sidewall. Tires past their age guidance and under-serviced wheel bearings are close behind.
How long do travel trailer tires last?
Even with good tread, many tire makers say trailer tires shoudl be replaced by ten years from the manufacture date on the DOT code, but some vehicle makers say six years, so check your owner's manual. Many owners replace at seven years because towable tires age faster. Check for sidewall cracks and proper inflation every trip, and have a specialist inspect them after five years.
Can I inspect the roof without a ladder?
If you have a drone, use it. Otherwise, a 12-foot A-frame ladder leaning against a stable spot works, but be careful on soft ground. On a travel trailer, you can often see the roofline from a parked pickup bed. The key is checking the sealant around every penetration, which you can see from the edges.
What does the breakaway switch do?
If the trailer comes off the ball, the breakaway cable pulls a pin from a switch that sends battery power to the electric brakes, stopping the trailer. Test it by pulling the pin and listening for a click at each brake drum. Many states require the breakaway battery to be charged and connected, but check your state's rules.
How often should wheel bearings be repacked on a travel trailer?
One major axle maker recommends cleaning and repacking the bearings every 12 months or 12,000 miles. Many used trailers have never had this done. If the seller can't document service, plan for a repack before a long trip. The job cost varies by shop and region, so call around for a quote.
What does an inspector look for under the slide-out?
A good inspector extends the slide and checks the floor underneath for soft spots, the seals for cracks, and the slide floor for water damage. They may sweep a moisture meter over the carpet and subfloor. Water that leaks past a top seal can rot the floor and the slide mechanism over time.
Find RV inspectors near you
Compare independent RV inspectors in your city, then ask a few for a price before you buy.
Browse by stateOr jump to: North Pole, AK · Lodi, CA · Bakersfield, CA