Printable RV inspection checklist for your own walk-around
By Della Marsh · October 21, 2026
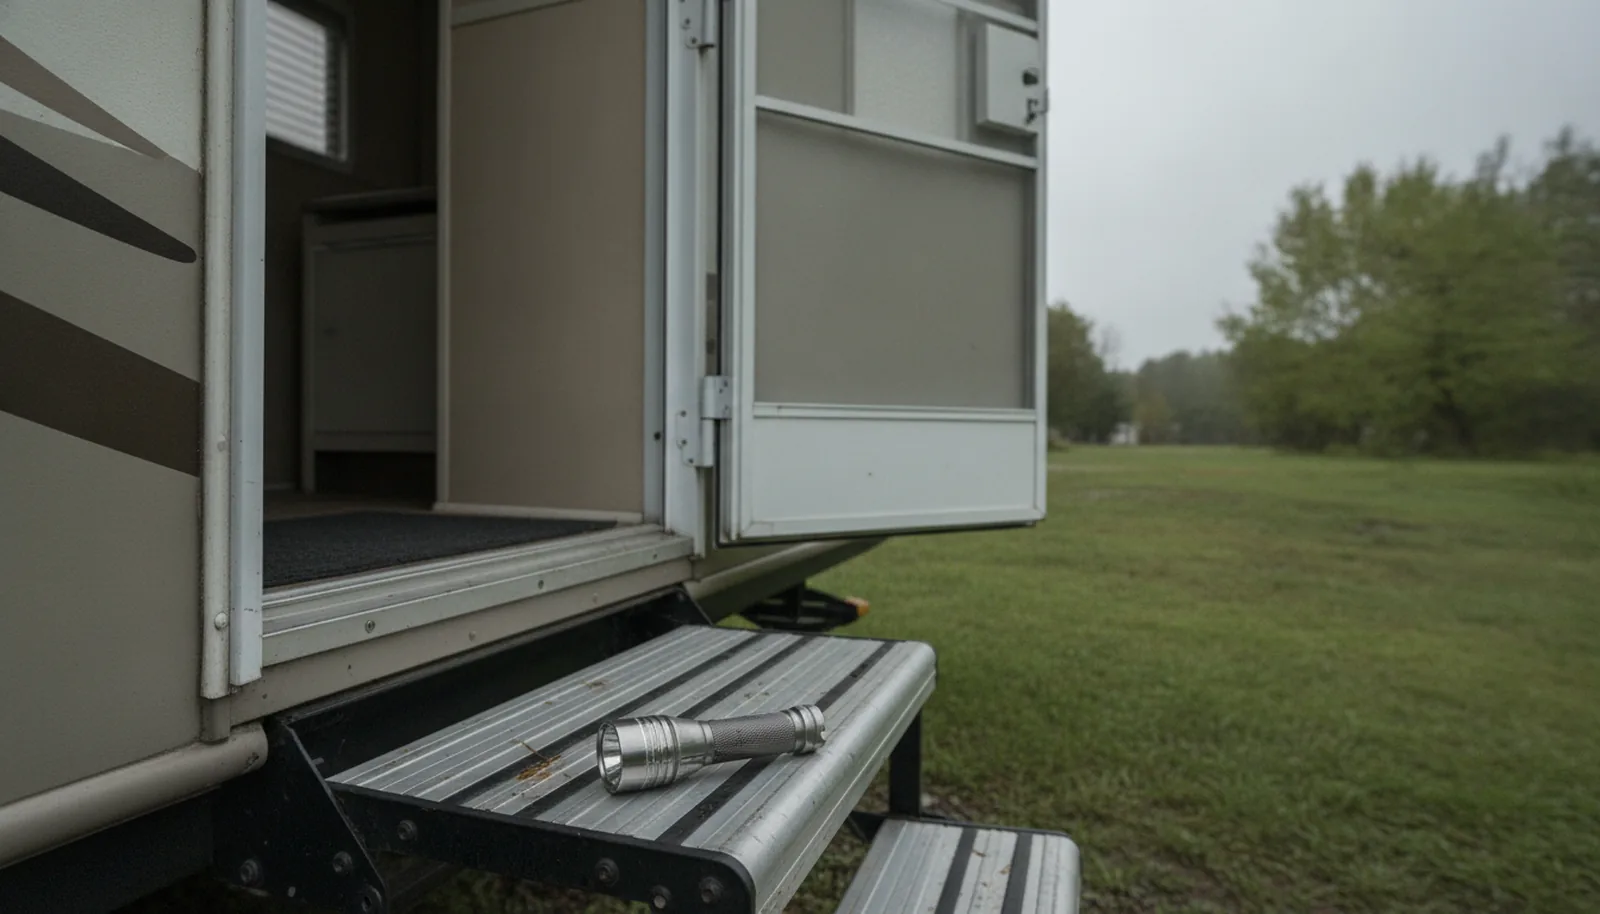
Last April I was on a dealer lot in Mesquite. Hot, no shade, rows of rigs all baking in the sun. I was looking over a three-year-old bunkhouse for a couple who’d driven down from Amarillo, and they’d asked if I knew any RV inspectors in Oklahoma City for their next trip. They had a notebook and a lot of questions. The salesman stood off to the side, keys in his hand. The husband pointed at the rubber roof and said, “So what would you check first?” I’d start with the sidewalls, frame, tires, and inside, then check the roof if it’s safe to access. That’s the order I use on every walk-through. He wrote that down. I keep a printable RV inspection checklist for people who want to screen rigs themselves before paying for the full inspection. It doesnt replace a certified inspector with a moisture meter and a manometer. But it catches the obvious stuff early. If you’re in that part of the country, there are RV inspectors in Oklahoma City worth calling for the deep version.
Before you go: ask for the VIN, service records, and roof maintenance dates
Before I even leave the driveway, I want the VIN, any service records, and the dates of any roof maintenance. Those three things tell me if the seller is organized and honest.
Call the seller and ask these three questions:
- Do you have oil change records, brake work receipts, or anything from a shop?
If the answers are vague, that tells you something about how the rig was maintained.
Printable RV inspection checklist
- VIN on title matches the VIN stamp on the frame or plate
- Registration current, seller’s name matches title
- Tires: check the DOT date code and condition; replace if over 10 years old per tire maker guidance, or sooner if cracked or worn.
- Wheels: check lug nuts torque with a torque wrench if you have one
- Frame rails straight, no cracks or new welds
- Hitch or pin box: no loose bolts, no cracks
- Safety chains (towables) in good condition, no stretched links
- Breakaway switch and cable work, battery charged
- Lights: brake, turn, tail, reverse all work
- Slide-out: check seals are not torn, wipe seals soft, no daylight thru the corners when closed
- Doors and windows: open and close, latches work, no cracks in glass
- Storage bays: doors open, struts hold, no water stains inside
- Awning: rolls in and out, fabric no tears, arms straight
- Roof: from a ladder only if you can safely reach it. Look for tears, missing lap sealant, soft spots, pooled water
- Walls: sight down each side for bubbles or waves (delamination), press on walls for give
- Inside: soft spots in floor, especially by the door, around the toilet, under windows
- Ceiling: water stains, sagging, brown rings around vents and A/C
- Windows: all open, screens intact, no fog between panes
- Propane tanks (towables): check the DOT date on the collar and requalification markings; if expired, the tank must be requalified before refilling.
- Regulator: no cracks, no oil residue, vent clear
- Propane leak test (if you have a manometer or a squirt bottle with soapy water): spray all joints, look for bubbles
- LP detector: test it with the test button, check the date on the back
- CO detector: test button, check date
- Smoke detector: test button, replace by the date printed on the unit (often 10 years from manufacture).
- Battery or batteries: hold 12.6 volts with a multimeter, posts clean
- Convertor: charges battery when on shore power
- Inverter (if present): turns on, creates AC
- Generator (if present): starts, runs, has oil, doesn’t smoke
- Water heater: on propane, lights, heats water in 15 minutes. On electric, heats in 30 minutes
- Furnace: fires and blows warm
- A/C: runs and cools; an inspector will record the temperature differential (Delta T) for each unit.
- Refrigerator: runs on electric and propane and gets cold.
- Stove top: all burners light
- Oven: lights, holds temp
- Microwave: runs for 30 seconds
- Water pump: runs, builds pressure, shuts off, holds
- Fresh water tank: holds water, no leaks
- Gray tank dump valve: opens and closes
- Black tank dump valve: opens and closes
- Toilet: flushes, holds water in bowl
- City water inlet: works,no check valve leak
- All faucets: hot and cold work at every faucet
- Drain traps: no leaks under sinks
- 120-volt outlets: polarity correct with a tester, GFCI trips and resets in wet areas
- 12-volt lights and fans: all work
- Cabinets: doors align, drawers slide, no signs of mice
- Furniture: no rips, no broken frames
- Entertainment: TV works, stereo works
- Slides: operate in and out, motor sounds strong, no binding
- Leveling jacks: operate, no leaks
- smell: no must, no propane, no holding tank odor
Call an experienced tech before internet shopping for big-ticket parts. See our post on travel trailer inspection checklist and pull up a list of the 13 places towables hide problems.
Outside walk-around: get low, get high, and look for the story
I start outside because that’s the rig’s history in front of you.
A friend of mine bought a Class C in Oklahoma after a short walk-around and a handshake. Three months later, black mold behind the cab-over bunk. Roof seam had opened up and the owner had painted over the water stain on the ceiling. A Class C RV inspection before she signed woudl have found that in twenty minutes. She called me after the fact.
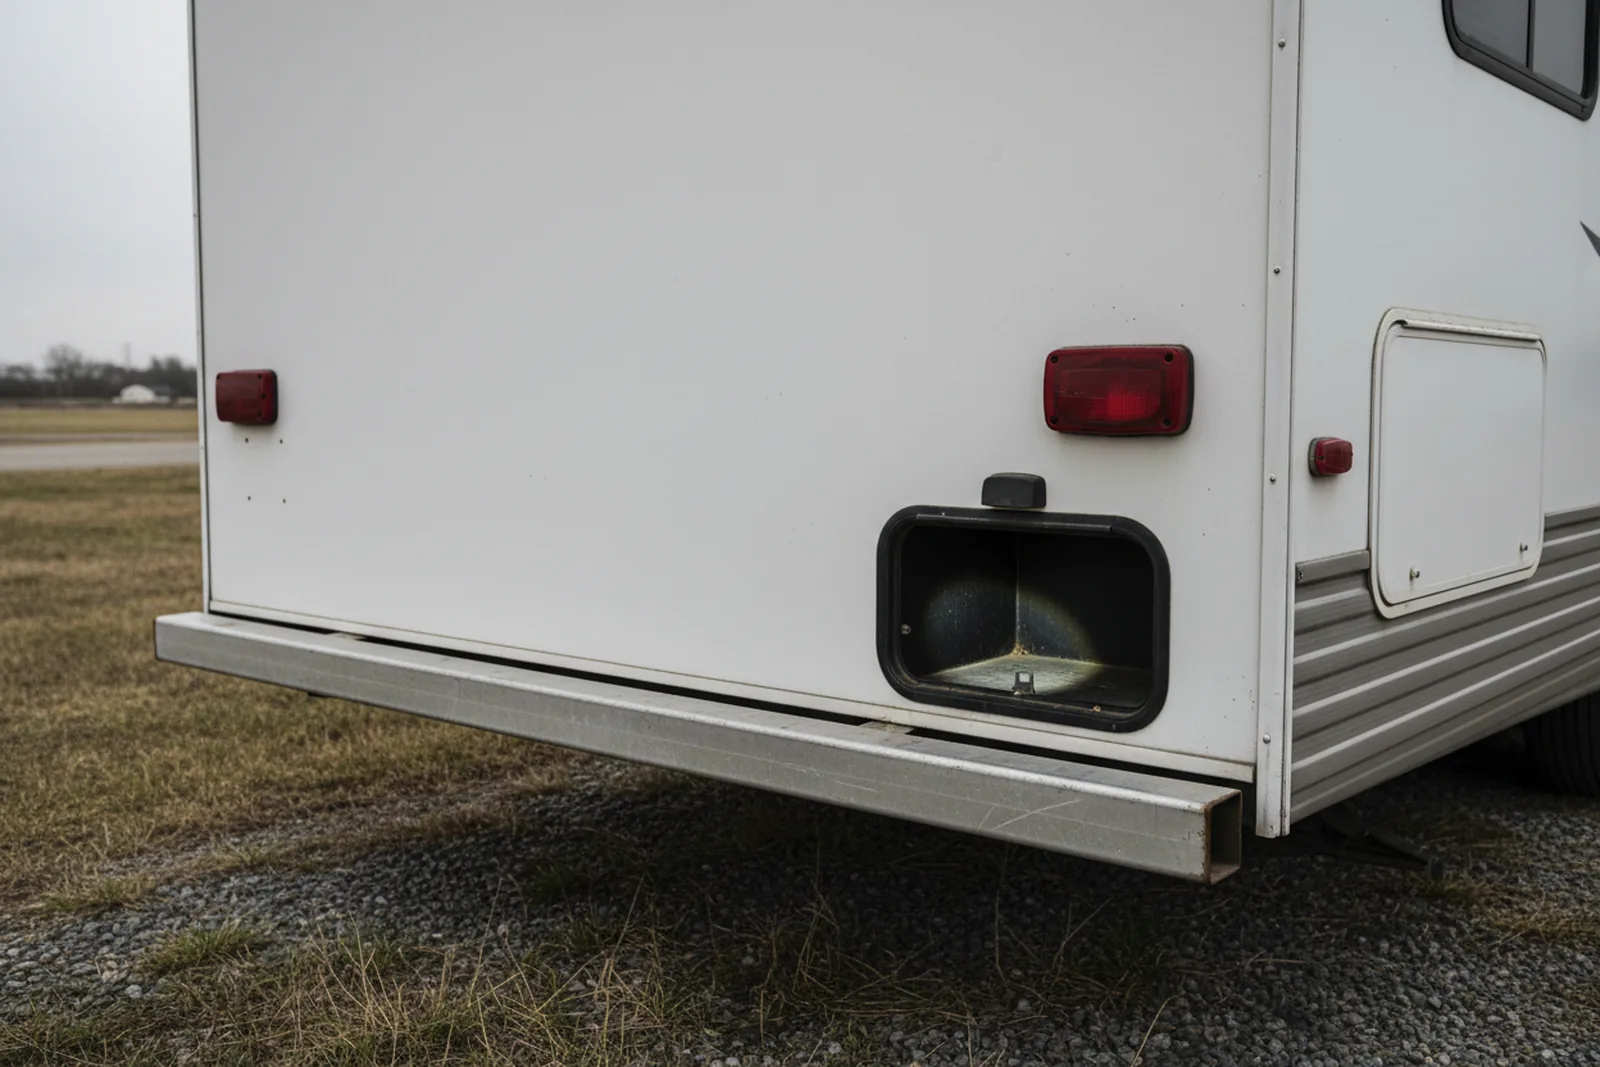
I found this walk-around video that steps through the same order I use on a lot, and it’s worth a watch before you go.
Roof check from the ladder, only if it is safe
If the rig has a rear ladder and it’s still attached right, you can use it. Otherwise don’t climb on a stranger’s roof. Your safety comes first.
Up there, you’re looking for tears, cracks, bubbles, any place the lap sealant has gone missing around vents, skylights, antennas, the edges. I’ll tell you in a house inspection the roof is the number that scares peopel. Same in an RV. A roof repair can cost more than the rig is worth on some older models. If I find a soft roof or open seams, I’ll tell a buyer to walk or renegotiate the price down hard.
Underneath with a flashlight: frame, brakes, and holding tanks
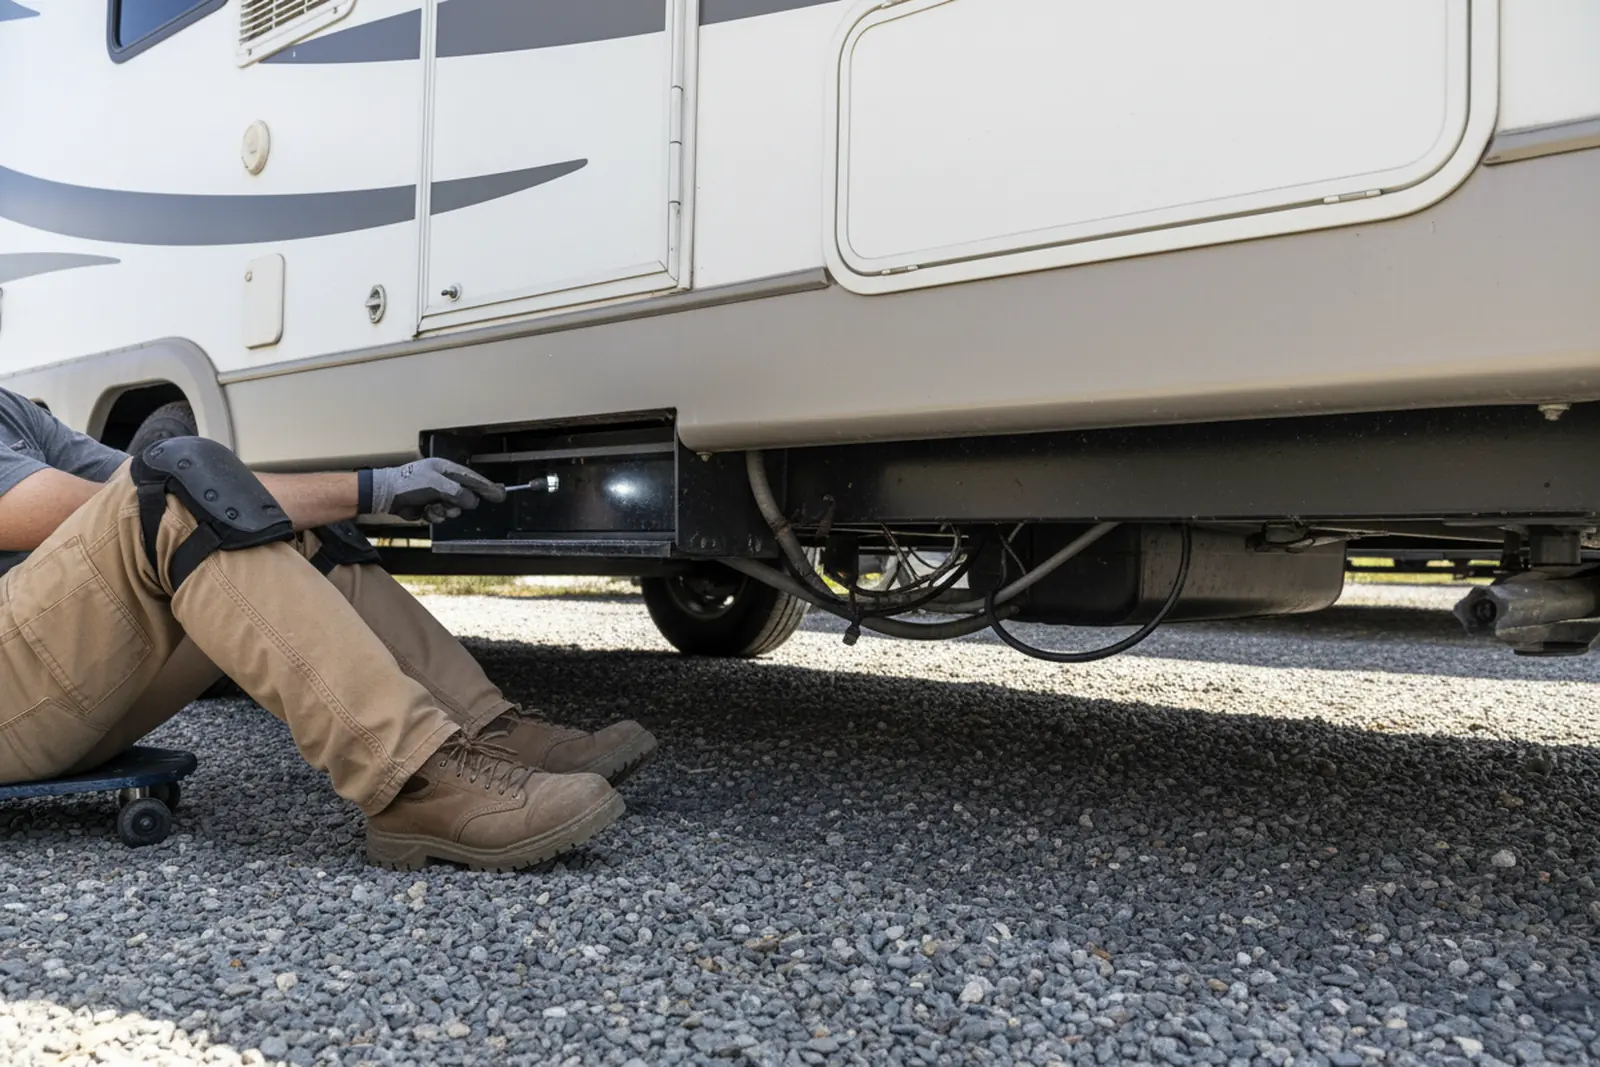
Get under the rig if you can do it safely. Bring a light.
Check the brake wiring, look at the hubs for grease.
A professional inspection includes a propane leak-down test at 8 inches of water column for 5 minutes, a hot-skin test, and a moisture meter scan of accessible walls. If you’re in Oklahoma and not sure who to hire, there’s a page with RV inspectors across Oklahoma that’ll point you the right way.
Interior press-test: floors, ceilings, and the smell test
I look for water stains, wallpaper that’s lifted or wrinkled, brown rings around vents. In a full inspection I run a pinless meter around the walls and then confirm high spots with a pin meter. For your own walk-through, your hand and your nose do a lot.
Run every system on shore power and propane
If the A/C blows warm, sometimes it’s just low on charge. On an older unit, could be a compressor, and that’s not a cheap Tuesday.
If you’ve got a propane leak you’ll usualy smell it. If you do, stop. Open the doors. Don’t flip any electrical switches. I run a timed leak-down test with a manometer on every inspection, but you can’t do that without the tool.
What I’d do differently if I were buying on a weekend
If I was buying a rig this weekend without a ladder or a multimeter, I’d still press on the walls, step on the floors, and sniff.
One thing you can do this week that most people skip: pull up a certified RV inspector near you and ask for a sample report. Read it. Does it tell you what’s a safety item and what’s cosmetic? Then ask what they charge for your exact rig. Pick the one who answers your questions straight, not the cheapest one on the list.
Before you book an inspector
FAQ
What does a certified RV inspector check that I can't?
A certified inspector carries tools most buyers don't own, such as a moisture meter, manometer, and multimeter. They inspect to the NRVIA Standard of Practice, which includes a hot-skin test, GFCI and polarity checks and a documented propane leak test at 8 inches of water column for 5 minutes. And they know where problems tend to hide because they've done hundreds of rigs.
How much does a professional RV inspection cost?
Depends on the inspector, the region, the size of the rig, and the scope. Basic pre-purchase on a travel trailer under 25 feet often runs $350 to $450. A 25 to 35 foot trailer runs $400 to $550. A fifth wheel is $450 to $700. Class C motorhomes come in at $450 to $900, Class A gas $500 to $1,100, and diesel pushers $650 to $1,500 or more. Add-ons like fluid analysis or thermal imaging cost extra. Ask for a firm quote before you book.
Is my printable checklist a substitute for an inspection?
No. The checklist keeps you from wasting a trip to see a rig with obvious problems. It won't find hidden water damage, a propane system with a slow leak or incorrect pressure, or a wheel bearing on it's way out. Those take the tools and the reps. Use the checklist first, then if the rig passes your screen, pay for the real inspection.
What is the most common expensive problem your checklist catches?
Water damage. Soft floors, delaminated sidewalls, a spongy roof deck. Those are the big ones on a used rig. A small soft spot by the door might run a few hundred dollars. A roof deck replacement can cost thousands depending on the shop. Pressing on floors and walls and sighting down the side costs nothing and can keep you from buying someone else's problem.
Should I inspect a new RV too?
Yes. New RVs leave the factory with defects all the time. An NRVIA survey reported that 41% of members' inspections were on new dealer-owned RVs, and 20% found life-safety issues. An independent inspection before you sign the final paperwork is smart money. The dealer's own pre-delivery check is done by their techs. A buyer-paid inspector works for whoever signs the check, and that's you.
Can I do a propane leak test without a manometer?
You can do a bubble test. Turn the propane on and spray soapy water on evry joint, fitting, and hose. Bubbles mean a leak. But that only catches leaks big enough to show up while you're standing there. A slow seep or a regulator pressure issue won't show. For the full LP system check, an inspector shuts off the tank, pressurizes the system, and watches a manometer for a drop over 5 minutes. That's the NRVIA standard.
How old should RV tires be?
Check the DOT date code on the sidewall. Last four digits are the week and year the tire was made. Tire makers and RV folks often say replace at 5 to 10 years from that date, even if the tread looks fine. One major tire maker says tires in service 5 years or more shoudl be inspected annually by a specialist and replaced at 10 years max. I tell my clients to budget for tires at 7 years on a heavy trailer, sooner if it sits in the sun all year.
Find RV inspectors near you
Compare independent RV inspectors in your city, then ask a few for a price before you buy.
Browse by stateOr jump to: Clearwater, FL · Fort Worth, TX · Port St. Lucie, FL