RV Inspection Checklist: 15 Systems a Good Inspector Goes Through
By Della Marsh · October 21, 2026
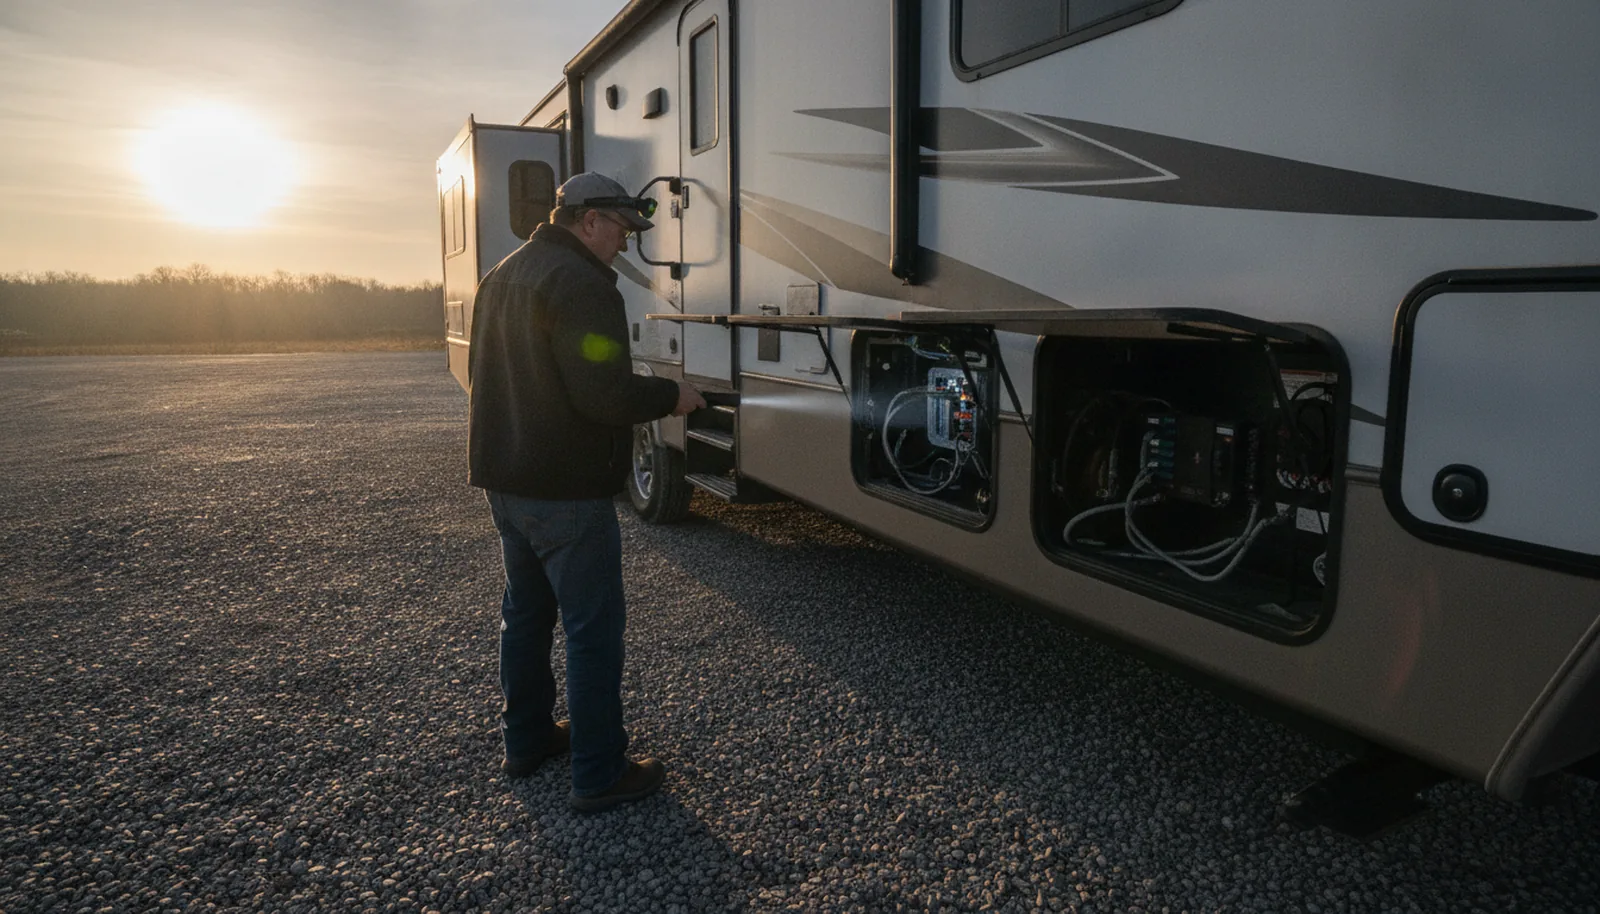
Last June I drove out to a lot in Denton to look at a fifth wheel a friend was about to buy from a private seller, and as one of the certified RV inspectors in Fort Worth, I knew to check the roof first. The heat was already curling off the concrete at nine in the morning. I walked the exterior first, the way I always do, and found a roof seam that had been patched with what looked like bathroom caulk. That one detail changed the whole afternoon. I didn’t think of it as an ‘RV inspection checklist’ then. I thought of it as the order I follow so I don’t skip the thing that bites later.
That fifth wheel turned out fine after the seller dropped the price to cover a real repair.
For the full list with boxes to tick on your own walk-around, see my printable RV inspection checklist. And if you’re near Fort Worth, I keep a page of certified RV inspectors in Fort Worth with notes on who does what.
1. Exterior walls and seals
I start at the front cap and sight down both sidewalls.
I carry a pinless moisture meter and a pin meter.
If I see any evidence of past roof repair, I note it. Caulk on a roof seam is a band-aid, not a fix. It’s usualy hiding water that got in years ago.
2. Roof
I inspect the roof only if I can walk it safely.
What I check: the membrane, all seams, the vents, the skylights, the AC gasket, and the edges where the roof meets the sidewalls. That’s a water entry point, plain and simple.
3. Slide-outs
I run every slide out and back, then look at the wipe seals and the wiper seals.
If a slide fails to open or makes a grinding noise, I stop and note it.
For towables with slides, I also compare the wear pattern on the slide mechanism to the rig’s mileage and age.
4. Frame and hitch
I crawl under the rig with a flashlight and a creeper.
I also check the breakaway switch and its battery. The switch was there, but the battery was dead. If that rig had come unhooked, the brakes wouldn’t have locked. It’s a ten-dollar part that can save a life.
5. Tires and wheels
I read every DOT date code and I write it down. Tire age guidance varies: one major tire maker says to replace tires after ten years from the manufacture date regardless of tread and to have them inspected yearly after five years, while many vehicle makers say six years. Check your tire maker’s recommendation.
I also check the pressure against the manufacturer’s recommended cold inflation pressure for the rig, not just the sidewall maximum. The most common finding on a trailer is a set of tires with plenty of tread but a date code from the Obama administration.
6. Brakes and bearings
On a towable I check the brake linings through the backing plate holes if I can see them, and I check the magnet arm for wear. Half the rigs I see have no record of that ever being done.
The most common finding is a brake adjustment that’s way off. That’s a trailer that’ll wag its tail in a hard stop.
I like this video on trailer tire and brake checks because it shows what to look for without getting too deep.
7. Suspension
I look at the leaf springs, the equalizer, the shackles and the bushings. On a used trailer they’re often orginal and they’re clunking.
If it has a wet-bolt suspension, I check that every zerk fitting will take grease and that the bolts aren’t seized. I’ve had to cut shackle bolts off with a sawzall more then once.
8. Propane system
I do a leak test with a manometer at 8 inches of water column for 5 minutes, which is the NRVIA standard procedure. The stamp on the collar will say ‘E’ for a 5-year visual, ‘S’ for a 10-year pressure test, or no letter for 12 years,but that applies to DOT cylinders; built-in ASME tanks follow different rules.
The most common finding is a leak at the pigtail or the regulator. Most LP detectors have a printed expiration or manufacture date, and I go by that, not the purchase date.
9. Electrical, shore power to outlets
I plug the rig into a known good power source and use a circuit analyzer on every outlet.
I also inspect the shore power inlet for burn marks or corrosion, and the cord for cuts or exposed wire. A melted twist-lock plug is a sign of overheating and it usually means the cord needs replacing, not just the end.
10. Batteries, converter and inverter
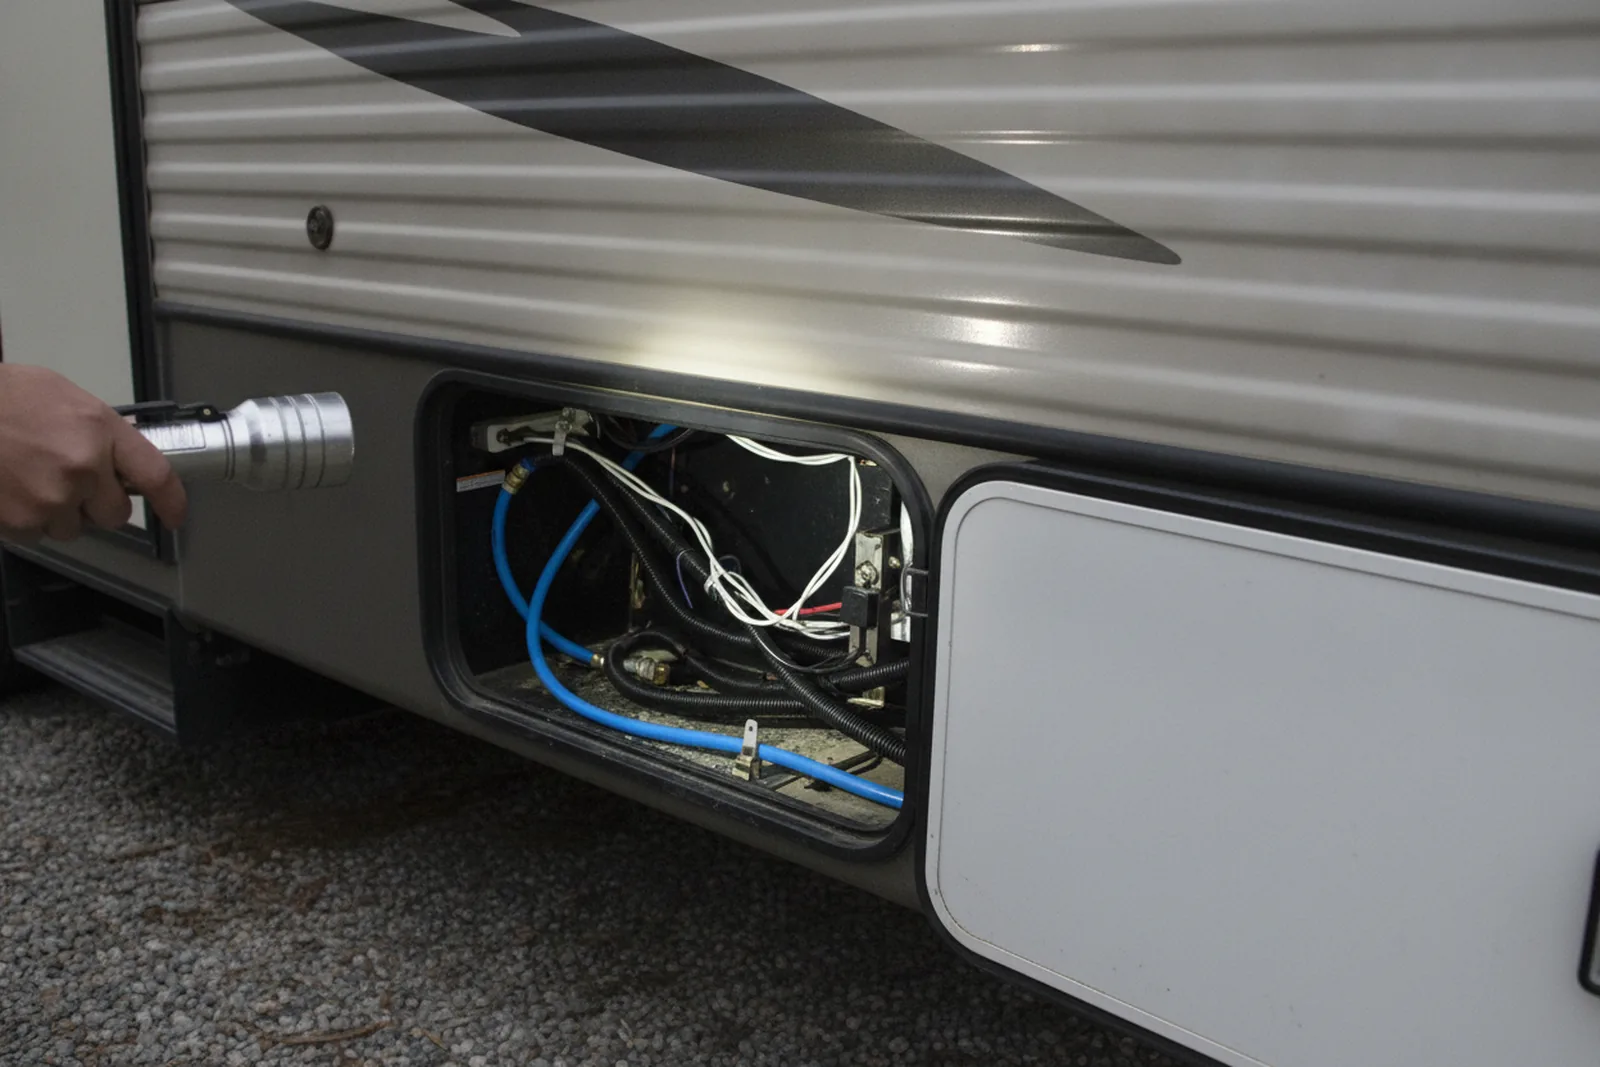
I check the battery age, the terminals for corrosion, and the water level if it’s a flooded cell. The most common finding is a battery that tests fine at rest but drops to 10 volts under load.
I also look for loose or undersized cables. A 4-gauge cable on a 3000-watt inverter may be undersized and a fire hazard, and I’ll write that in the report.
11. Plumbing and holding tanks
I fill the fresh tank and run the pump until it shuts off, then I watch for pressure drop. The most common finding is a leaky dump valve or a gray tank that won’t drain all the way because the rig isn’t level.
I also check the tank vents for blockage. Wasps love to nest in there, and a blocked vent will burp the tank when you flush.

12. Water heater
I run the water heater on propane and on electric if it has both.
On a tankless heater I run hot water through a fixture and watch for a consistant temperature. The most common finding is a water heater that works on propane but not on electric, usually because the element or the thermostat has failed.
13. Furnace and air conditioner
I run the furnace until the blower comes on and warm air comes out. If the temperature drop is weak, the compressor or the fan is weak or the coils are dirty.
The most common finding on a furnace is a sail switch that’s failed or dirty. On an AC it’s a plugged condenser coil because the unit was never cleaned.
14. Refrigerator and cooking appliances
I run the refer on propane, on electric, and on 12-volt if it has that. On a 120-volt refer it’s a failed heating element.
I light every cooktop burner and the oven. I check for a blue flame, not yellow. Yellow means an air shutter problem and possible carbon monoxide production.
15. Safety detectors, egress, generator and engine
I test the LP detector, CO detector, and smoke alarm.
On a motorized rig I also check the generator hours, the exhaust, the belts and hoses, and the engine for leaks. I may pull an oil sample for fluid analysis as an add-on. That typically costs abotu $200 to $300 and lab turnaround can be a few days. It’s a snapshot, but it can flag a head gasket leak before the test drive does.
A checklist is a snapshot, not a warranty
No inspector, including me, can promise you a trouble-free rig.
If you’re shopping, I’d ask two or three certified inspectors to send you a sample report and a price for your exact rig. The questions are the same everywhere: what did you look at, what did you find, and what do I do about it.
You can find certified RV inspectors near you through the national association’s locator, and my travel trailer inspection checklist covers the 13 places towables hide problems. The right time to pay for a checklist is before you pay for the RV.
Before you book an inspector
FAQ
How many points does an NRVIA inspector check?
The NRVIA standard is a list of systems and components, not a fixed number of points. A basic visual and functional inspection covers all the systems in this article. A Level 2 inspection adds deeper testing and may include fluid analysis on the engine and generator.
What does a basic RV inspection cost?
Prices vary by region and rig size. A travel trailer under 25 feet might run $350 to $450, a fifth wheel $450 to $700, and a Class A gas motorhome often falls between $500 and $1,100, but prices vary by inspector and region. Add-ons like fluid testing or a secound inspector cost more.
How long does an RV inspection take?
On site, a small towable takes about 2 to 4 hours, a mid-size motorhome can take 6 to 8 hours, and a large diesel pusher can run 8 to 10 hours, but times vary by inspector and scope. Report writing often adds a few hours after that. Ask the inspector for an estimate before you book.
Can I use a printable RV inspection checklist myself?
Yes, for your own rig or a first walk-around. But a checklist is not the same as a trained inspector with a moisture meter, a gas manometer,and experience seeing hundreds of rigs. Use the checklist to narrow down which rigs to inspect professionally.
What if a dealer won't allow an outside inspector?
Some dealers restrict outside inspectors. You can ask for a post-purchase inspection at the dealer to build a warranty repair list, or an inspection before the factory warranty ends. A short life-safety inspection before the sale and a full one after is also an option.
What is the most common red flag on an RV inspection?
In my experience, a propane leak or a failed LP or CO detector is the most common safety item. Right behind that is a breakaway switch with a dead battery on a towable. Both are cheap to fix but deadly if ignored.
Find RV inspectors near you
Compare independent RV inspectors in your city, then ask a few for a price before you buy.
Browse by stateOr jump to: Peoria, AZ · Miami, FL · Oceanside, CA