RV safety inspection: 10 skipped items that can hurt you
By Ernie Takahashi · October 29, 2026
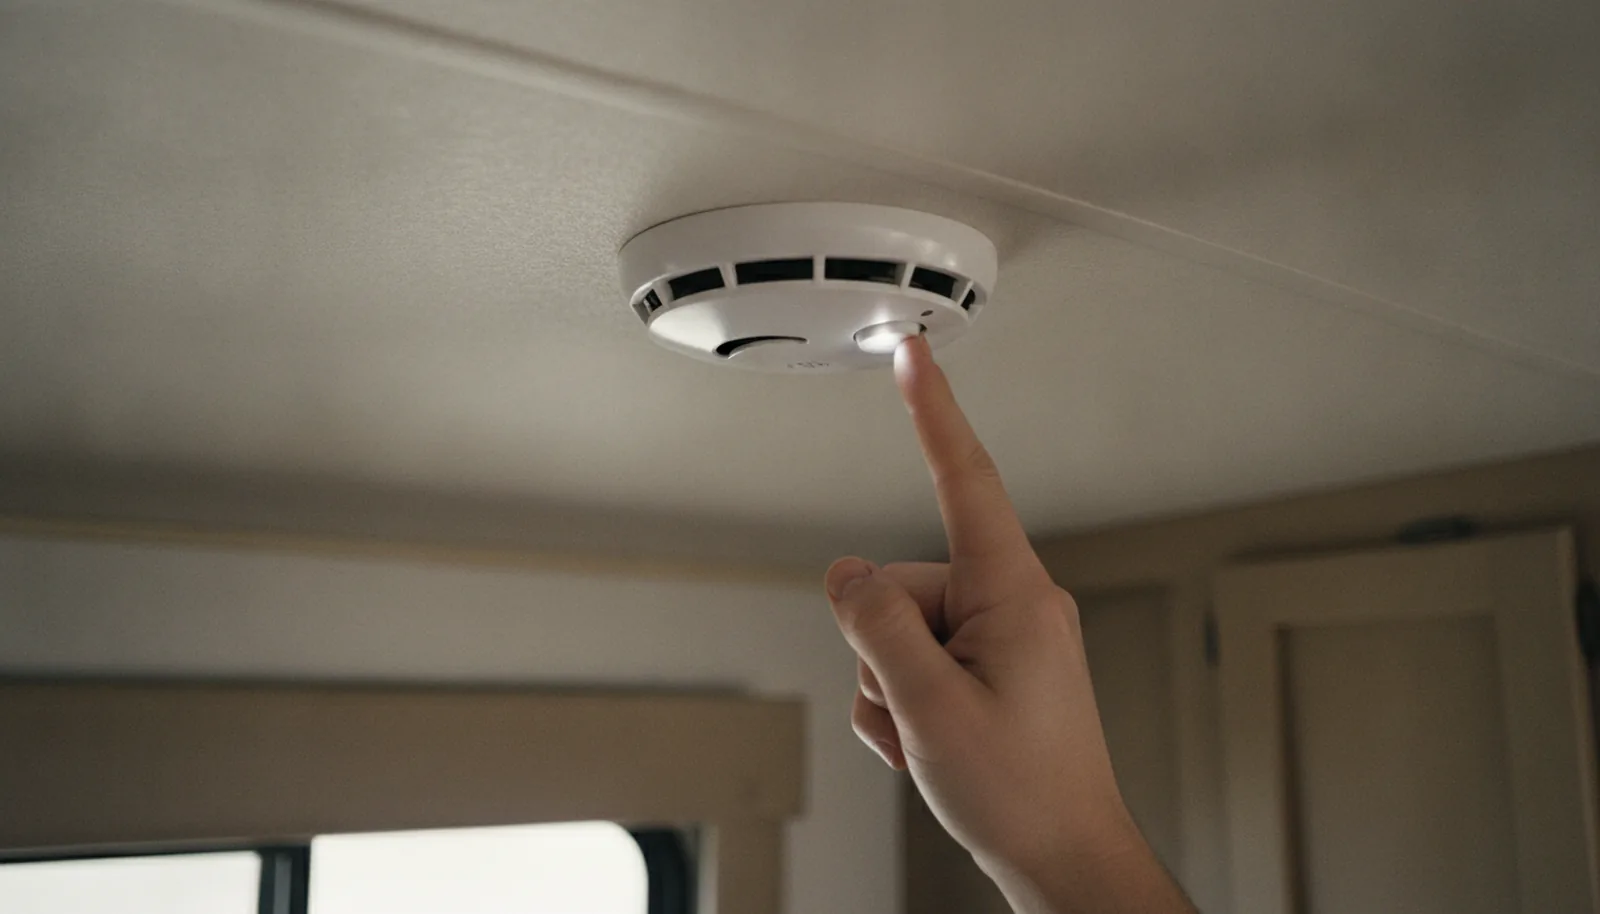
A few Novembers back I was parked off I-15 near Las Vegas doing an RV safety inspection on a gas Class A for a buyer, not far from the area I cover for RV inspection in Surprise. The CO detector on the ceiling had a date code from 2009. I pulled it down, hit it with a can of smoke, and it stayed dead. Then I found a pinhole in the generator exhaust pipe, right where it passed under the bedroom floor. That rig was a tragedy waiting for a cold night with the furnace on. I failed it that afternoon, and the buyer walked. A proper RV inspection in Surprise would have flagged the same problems, and a good mobile RV inspection nationwide runs the same checks wherever the coach sits.
I’m not guessing at this stuff. I used to do annual safety inspections on a fleet of 40 school buses. No gray area.
1. Propane leaks at every joint and fitting
LP gas leaks are one of the most dangerous failures I saw in my years as a bus inspector, because the gas pools in low spots, like under a dinette, until a spark finds it. Propane is heavier than air. A small leak can sit there for days. Soap solution on every connection will show bubbles, or better, have an inspector run a timed pressure drop test at 8 inches of water column for five minutes. Any drop means a leak. Fix it before you sleep in the rig.
Never trust a nose test. When I compare prices, I start with mobile RV inspection nationwide. For a second opinion, look up certified RV inspectors near you, or book a pre-purchase inspection before any money changes hands. Out here most folks I know use mobile inspectors around Arizona, and if you drive a Class A or C, a motorhome inspection in Arizona covers the chassis side too.
2. CO detector present, in date, and awake during an RV safety inspection
The CO detector in that Vegas coach had expired nine years before. I carry a can of test smoke and I make every detector beep. A dead CO detector is worse than none, because you think your protected.
Run the generator and hold the furnace on while you test. Never sleep in a rig with a non-working CO detector while the generator or furnace is running. The next morning might not come.
3. LP detector down low where propane collects
Propane sinks, so the LP detector usually sits near the floor, often under the oven or dinette. Step one is checking whether it even has power. People unplug them because they chirp, or because the old one failed and nobody replaced it. That’s like pulling the battery from your smoke alarm.
Test it with a butane lighter, unlit, held near the sensor. It should beep within seconds. If it doesn’t, replace the the unit. The cost is under $60. The alternative is waking up in a fireball.
4. Smoke detector on the ceiling and tested monthly
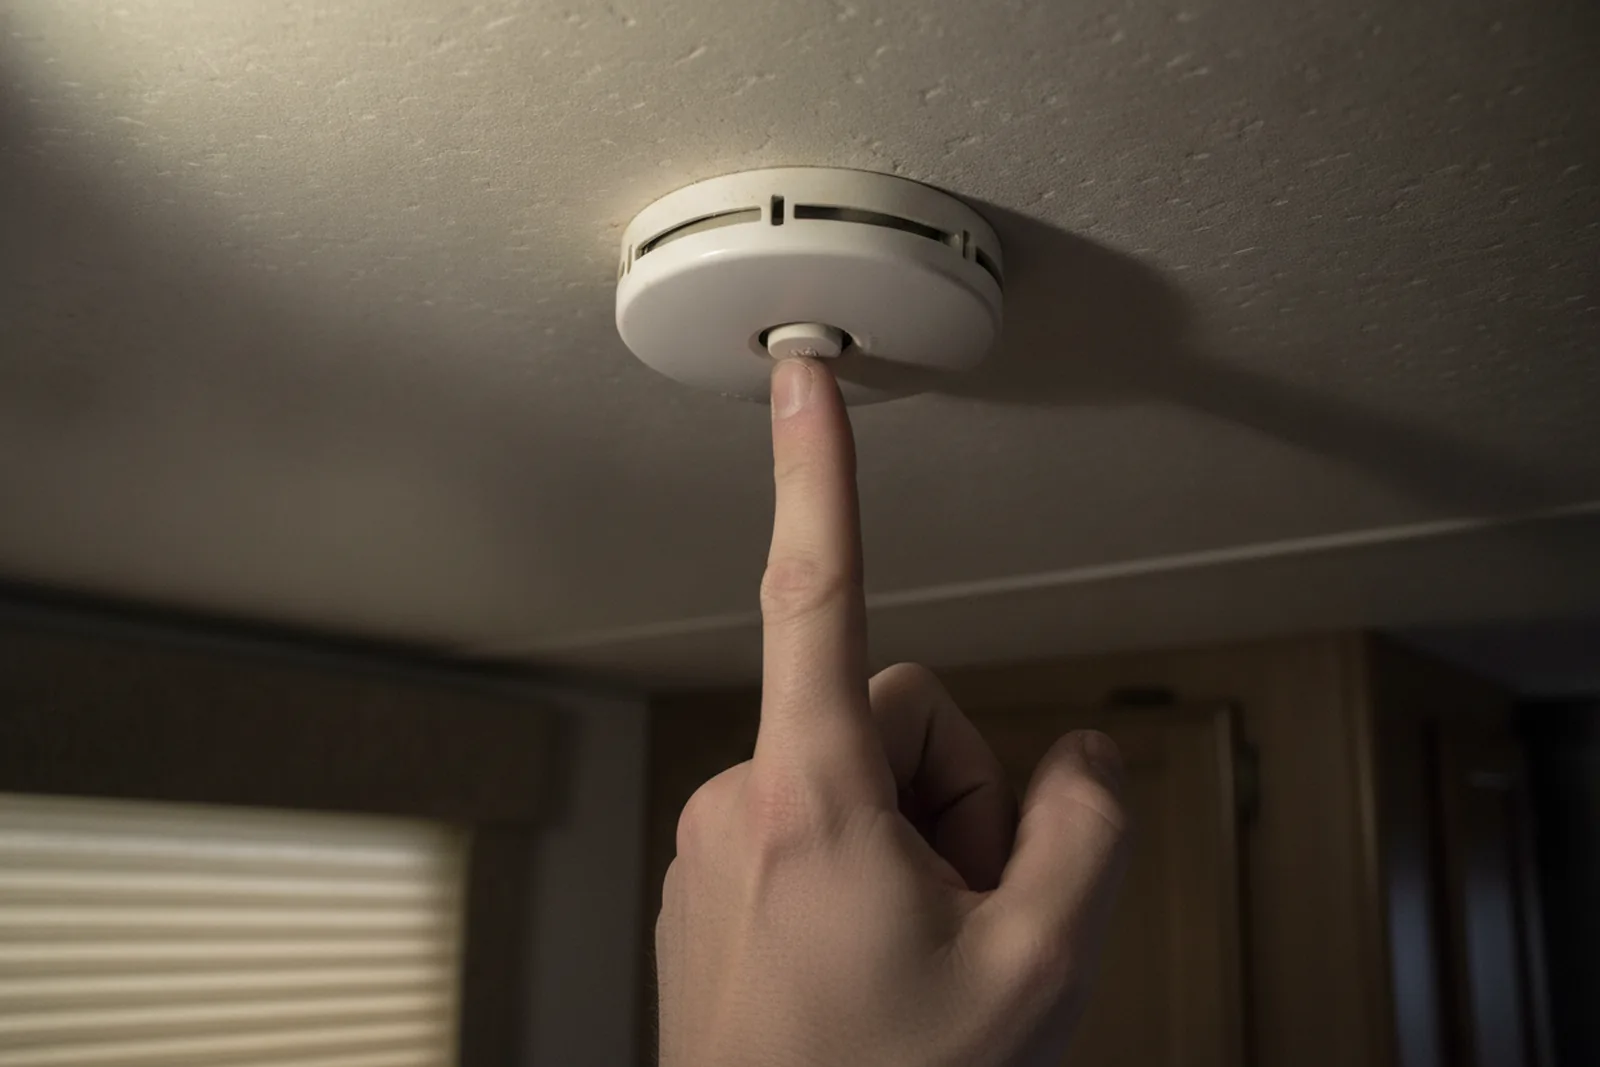
RV smoke alarms are often the cheapest 9-volt units the builder could find, and a lot of them have a 10-year life from the manufacture date. I replace every smoke alarm in a rig I inspect unless I see a fresh label.
Press the test button. Check the date. RV fires burn fast because the walls are full of glue and foam.
5. Egress window opens wide enough to climb out
Every sleeping area needs an emergency exit you can actualy fit through. I check the latch, the hinges, and whether the window props open or falls back on your fingers. Some egress windows are screwed shut because they rattled going down the road. I once looked at a bunkhouse where the rear egress window was painted shut. The owner had three kids sleeping back there.
Open every egress window on your next trip. Time yourself: can you get out in ten seconds? If the window binds, fix the frame. A fire can spread through an RV in minutes, so practice your exit.
6. Fire extinguisher present, charged, and easy to grab
Most RVs come with a 1A:10BC or 2A:10BC extinguisher, usually mounted by the door. I’ve inspected rigs where the gauge needle sat in the red but the owner said, ‘It’s never been used.’
Check the gauge every tour of the rig, and turn the unit upside down once or twice a year so the dry chemical doesn’t cake at the bottom. A better move is to add a second, larger unit in the bedroom, because the main one is usualy mounted in the kitchen right where the fire starts.
7. Brakes and breakaway switch to stop a runaway trailer
This one applies to towables. The breakaway switch pulls a pin if the trailer separates from the truck, and that pin activates the trailer brakes. Half the ones on older trailers don’t work because the battery inside is dead.
The brake magnets need a yearly service: clean and adjust, and check the controller output. A dealer or axle shop can do this for about $150 to $250. A good pre purchase RV inspection by state and city includes a breakaway test every time.
8. Tire age and condition before you roll
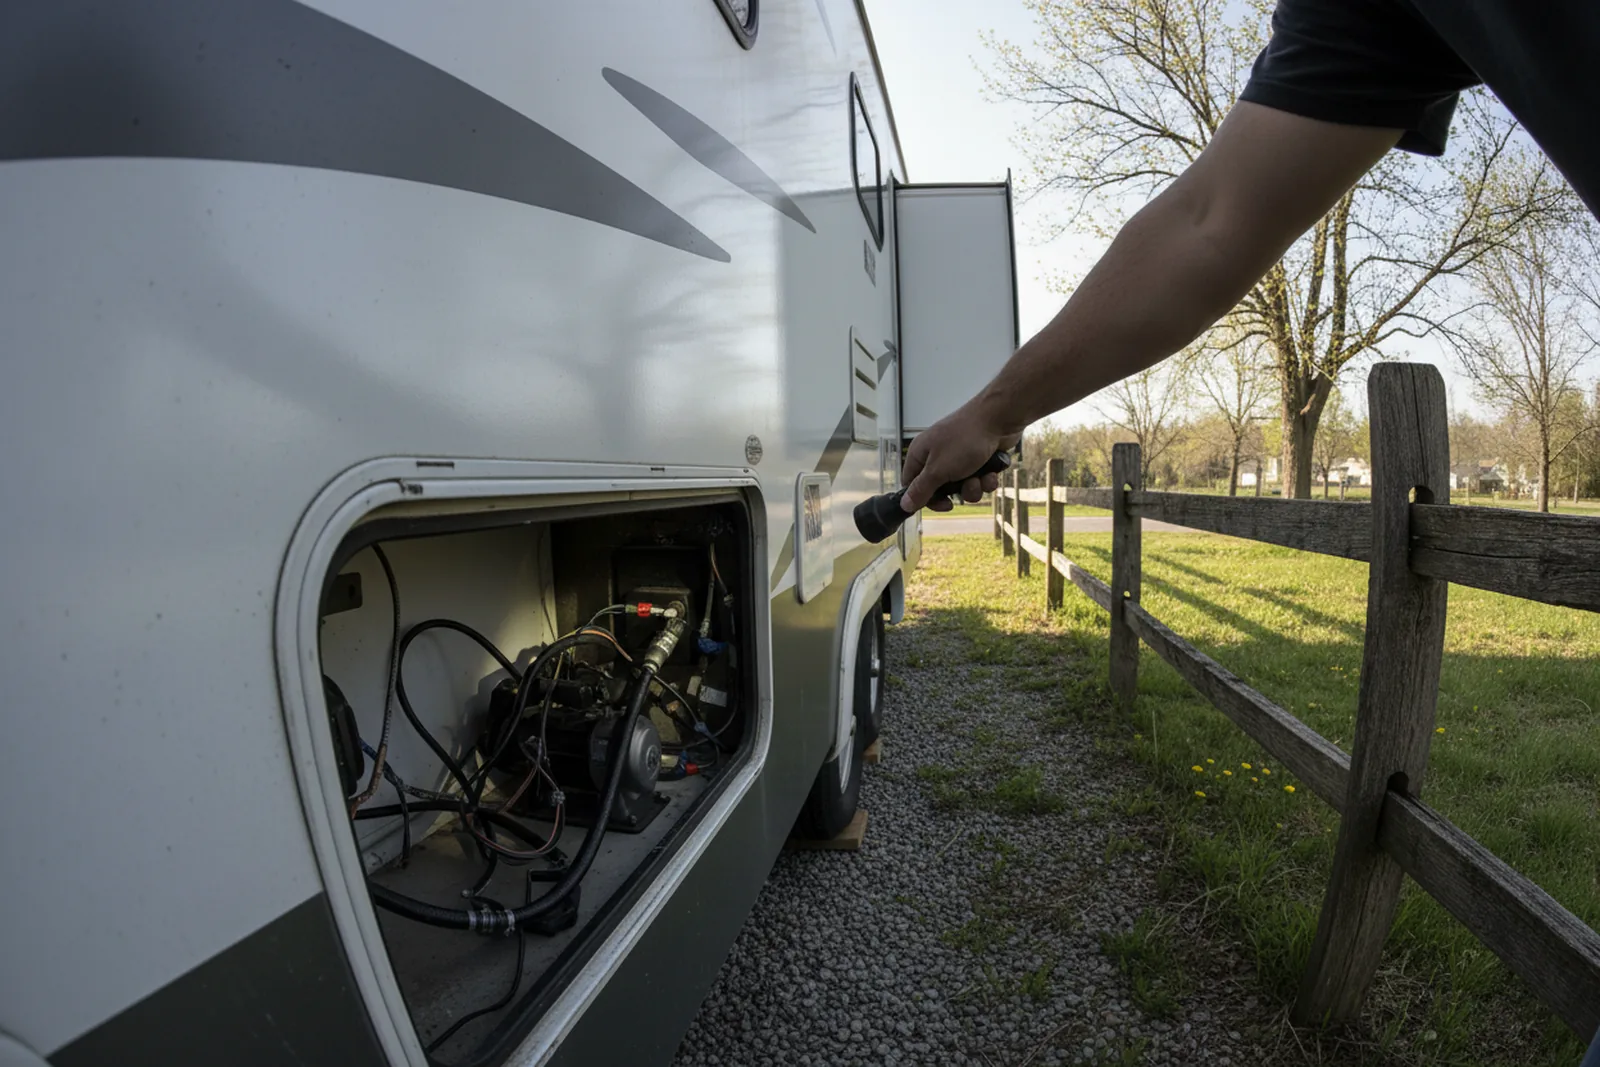
RV tires die from age, not tread. Many of us replace at 7 years because a blowout on a 30-foot fifth wheel can roll the truck. I look at the DOT date code first, then the tread, then the sidewalls. Sitting in storage ages tires almost as fast as towing.
Check pressure every travel day, set to the cold inflation on the sticker. Inspect sidewalls for cracking. And check your spare, because a 10-year-old spare won’t help when it’s flat. A mobile tire service in my part of Arizona charges about $50 to mount and balance a trailer tire.
I found a video that shows one thing inspectors often miss, and it’s worth a watch before your next trip.
9. Electrical hot spots and reverse polarity
A ‘hot skin’ is voltage on the metal body of an RV, usually from a bad chassis ground or a failed shore power cord. It can kill you when you touch the door handle while standing on wet ground. I test every rig with a non-contact voltage tester. During a mobile inspection near Flagstaff, I found 82 volts on a Class C’s skin. The owner had been living in it.
Reverse polarity in a 120-volt outlet means the hot and neutral are swapped. Common in older rigs and handyman repairs. A $15 outlet tester tells you in seconds. If you see a red light, fix it before you plug in a computer or an oxygen concentrator.
10. Generator exhaust routing and CO risk
Generator exhaust is a leading carbon monoxide risk for dry campers. The factory routes the exhaust out the side or rear, but aftermarket hitches, bike racks, or mud flaps can deflect it back under the coach. In that Vegas inspection, the exhaust pipe had a pinhole from road debris,and it pointed right at the bedroom slide.
Feel for exhaust puffs while the generator runs. Look for rust, cracks, and loose hangers. Extend the exhaust if you run it while sleeping, and never run a portable generator under an awning or slide-out. CO is odorless and heavier than air; it fills a coach from the floor up.
What I’d demand before I sign anything
I’d rather walk away from a deal than lie awake in a rig that can asphyxiate me. The ten items above are usually inexpensive to fix compared with the cost of a fire or CO poisoning., and an RV inspection checklist walks through each one. The hard part is finding them. A few years ago I inspected a 2019 fifth wheel for a retired couple in Yuma. The seller was a church friend. Everything passed except a propane fitting at the refrigerator that leaked just enogh to smell on a warm day. The couple bought the rig anyway, but they fixed the fitting the first week. A certified RV inspector by state and city near them woudl have found the same leak.
My advice this week: pull up mobile RV inspection in Arizona or your own state, ask two inspectors what their safety checks cover, and compare. For a motorhome, a motorhome inspection across Arizona should include a hot-skin test and a generator run. A pre purchase RV inspection on a used rig typically runs about $350 to $550 for a travel trailer and $500 to $1,100 for a gas Class A, depending on the inspector and travel. Ask what their report includes, and ask them to test every detector with smoke and the breakaway pin with a pull. If they won’t, find another inspector.
Related reading
FAQ
How often should I get an RV safety inspection?
For a used rig you own, I recomend a yearly safety check that covers the ten items above, plus a longer systems inspection every two or three years. Some mobile inspectors offer a 'life-safety only' check for about $100 to $300 that covers detectors, propane, brakes, tires, and fire extinguishers. If you travel over 10,000 miles a year, consider a spring safety check and a fall check before winter storage.
Can I do my own RV safety inspection?
Yes, and you should do monthly walkarounds. Buy a propane leak detector spray, an outlet tester, and a tire pressure gauge. But a certified inspector has a calibrated manometer for the propane system and a thermal camera for hot spots, and their report carries weight in a negotiation. Most inspectors also have experience with hundreds of rigs and know where builders hide problems.
What should I do if my RV fails a safety inspection?
Get the written report. Prioritize the items that can kill you: propane leaks, dead detectors, faulty brakes, bad tires, hot skin. Those are often the cheapest items on the report to fix. Use the report to negotiate with the seller or dealer, or to get a repair estimate. Some inspectors will reinspect after repairs for a small fee, so ask about their policy.
How much does an RV safety inspection cost?
A life-safety-only inspection is commonly $100 to $300 for most rigs, while a full pre-purchase inspection runs abotu $350 to $1,500 depending on RV type, age, and inspector. Add travel of $0.50 to $2 per mile beyond a 25 to 50 mile radius. Fluid analysis for motorhomes adds $200 to $300. Prices vary, so ask three inspectors for a quote.
How long does an RV safety inspection take?
A life-safety check on a travel trailer can take one to two hours or more, depending on the inspector and rig. A full inspection of a gas Class A motorhome runs six to eight hours on site, plus a few hours for the written report. A diesel pusher can take eight to ten hours. If an inspector tells you a full inspection takes under four hours, be suspicious.
Find RV inspectors near you
Compare independent RV inspectors in your city, then ask a few for a price before you buy.
Browse by stateOr jump to: Austin, TX · Oklahoma City, OK · Ocala, FL