RV roof inspection: check seams, sealant and soft spots safely
By Della Marsh · October 21, 2026
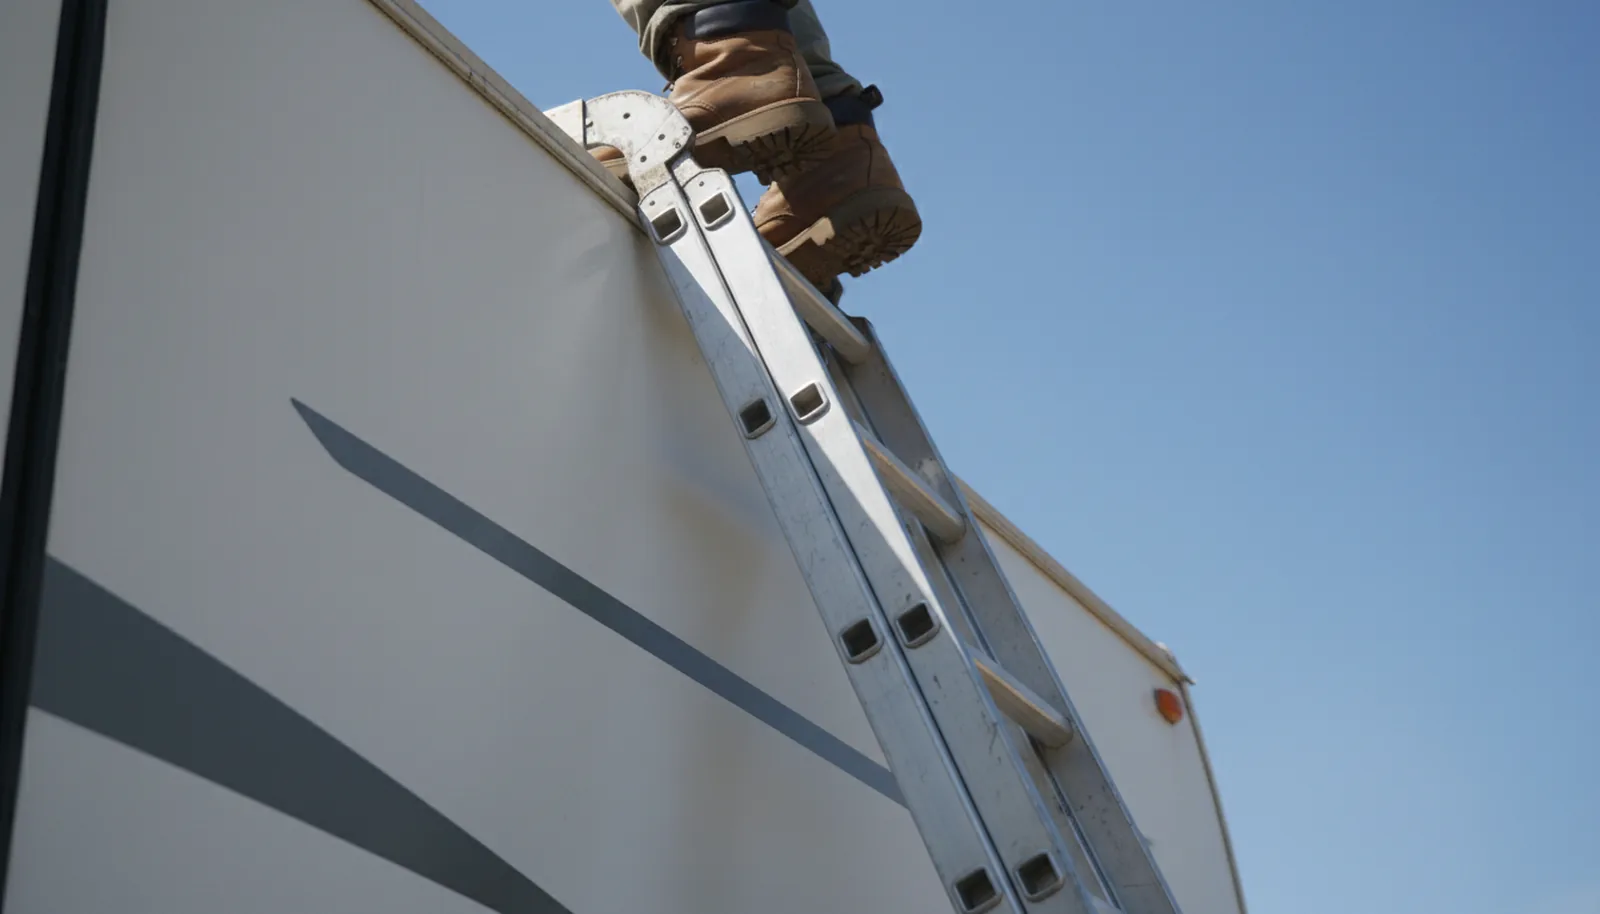
Last June I drove down to Austin to look at a 2009 fifth wheel a seller had listed as ‘roof resealed last fall,’ a job that should have been done by certified RV inspectors in Fort Worth. The rig sat in a storage lot on a 101-degree day, and from the ground the roof looked clean. The seller pointed to a fresh bead of lap sealant around the front vent and said the top was solid. I climbed the ladder, put my knee on the rubber membrane just behind the AC, and it sank like an underbaked cake. Water had been pooling for months, and the decking underneath was gone. That half-inch of give could of cost the buyer thousands in roof decking repairs. Your roof is the one surface on a camper that can look fine from the curb and hide a slow, expensive failure. That is why an RV roof inspection is the first thing I teach new owners to do themselves.
Know your roof type before you go up
RV roofs are not all the same, and what you search for on an EPDM rubber roof is different from what I check on fiberglass or aluminum. You are looking for hairline cracks along the radius from the flat roof down to the sidewall, especially around the front cap. Aluminum roofs, usually found on older or entry-level rigs, show corrosion as white powder and tiny pinholes at the rolled seams. Walkable? Some rubber roofs are rated for foot traffic, but I do not walk one without checking the owner’s manual or the manufacturer’s sticker. If it is not rated, I work from a ladder and a pole camera. If you do not know, stay off and use a ladder, a drone, or a pole camera instead.
Start with the front cap seam and follow every joint
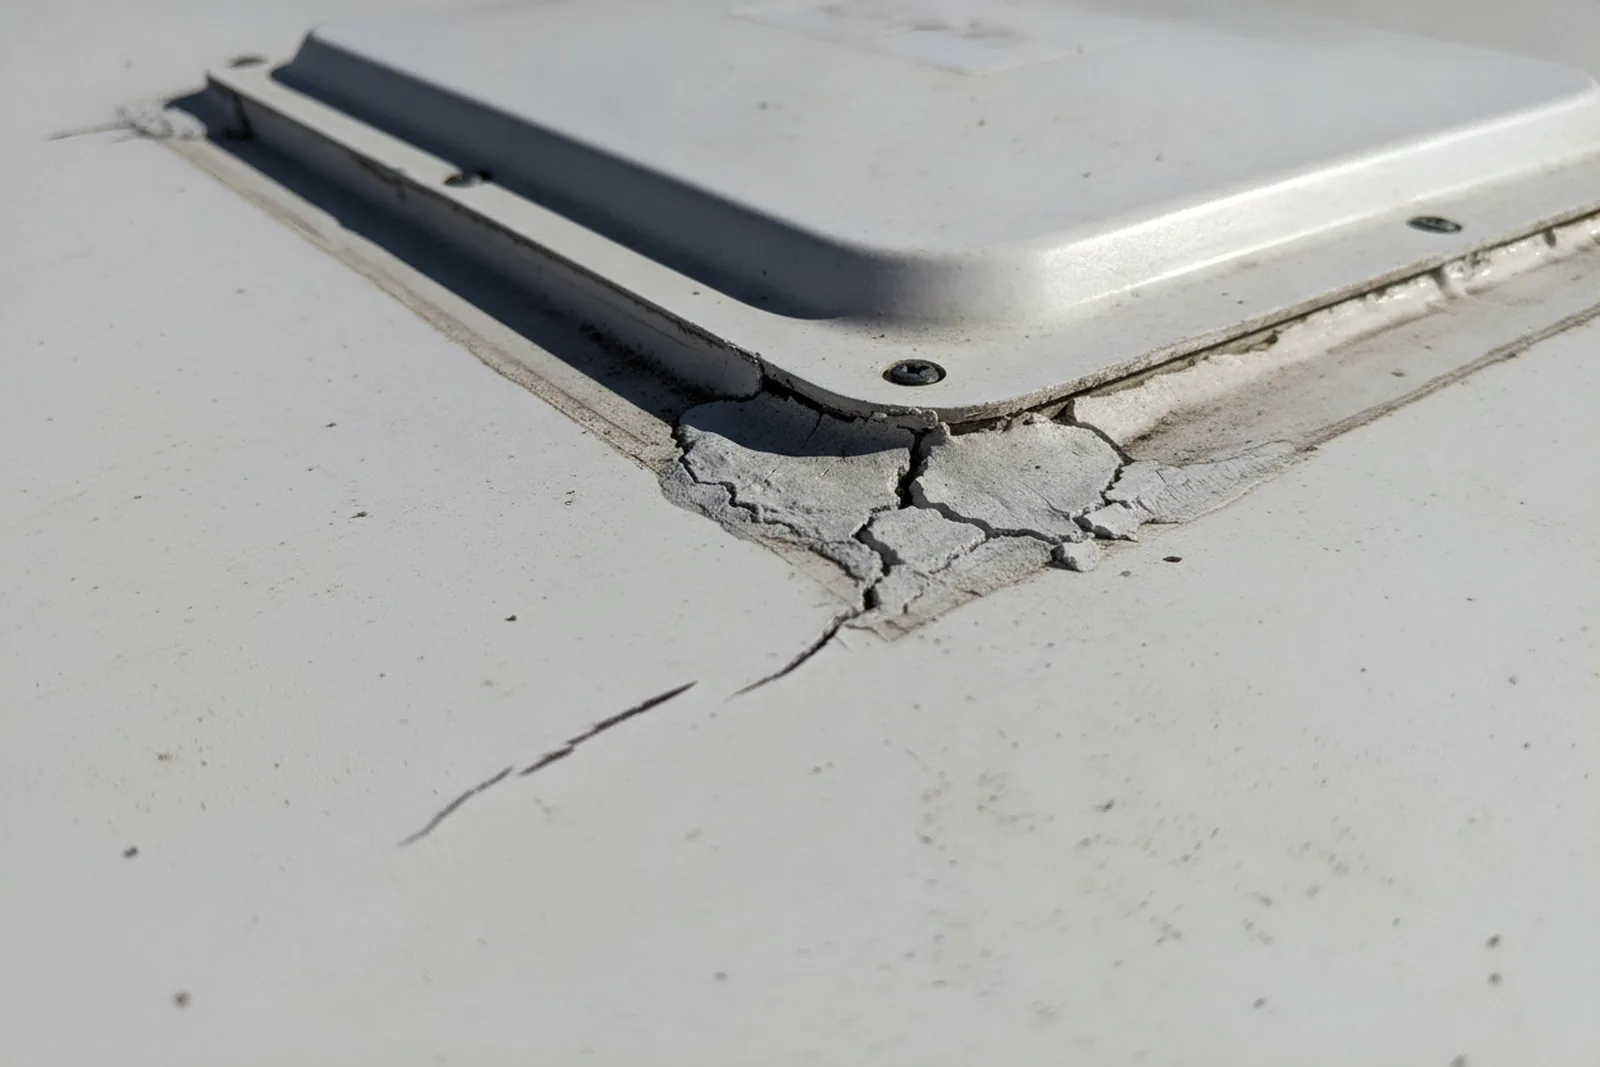
The front cap seam, where the rounded nose meets the flat roof, is the first place I put my hands on a rig. What sets off my alarm: a bead that has shrunk back and left a gap, even a hairline. A chalky white crust at the edge of the sealant often means water has already gotten under and dried there, wich means it got in once and will get in again. Use your fingers, not a knife. Never pick at sealant that looks sound. I found one rig where the owner had scratched off a suspicious bead, opened a pinhole, and flooded the front pass-through in a three-inch rainstorm.
I found a helpful video that walks through the process of inspecting an RV roof to prevent unneeded repairs. It covers the basics well and is worth a watch.
Every penetration is a leak waiting to happen
Roof vents, plumbing vents, the air conditioner, the TV antenna, the skylight, the solar mounts. I have seen an inner and outer skylight with no weep holes and a crack in the outer dome that was invisible from inside. Water collected between the two layers for a year before the ceiling stains showed up. On a hot day, press the skylight gently. If it flexes more than you expect, take a closer look. As for the AC gasket, it is not a sealant job. The gasket should be felt-like, not sticky, and compressed evenly all the way around the 14x14 opening. If it is pulled away or the bolts are loose, condensation and rain both get in.
The membrane itself: tears, chalking, and ponding marks
On a rubber roof, I check first for any puncture or tear. You cannot stop chalking, but you can wash the roof a couple of times a year with a mild soap and a soft brush. But the marks I look for are ponding outlines. These are faint outlines on the membrane where water sat and evaporated repeatedly. They look like water stains on a ceiling. The outline often matches a low spot in the decking. A small pond that dries in an hour is common; one that sits for days means the deck has sagged. Press around it very gently. If the roof feels spongy under the membrane, the plywood is compromised. Do not walk on that spot again.
The inside check: ceilings and walls under every roof opening
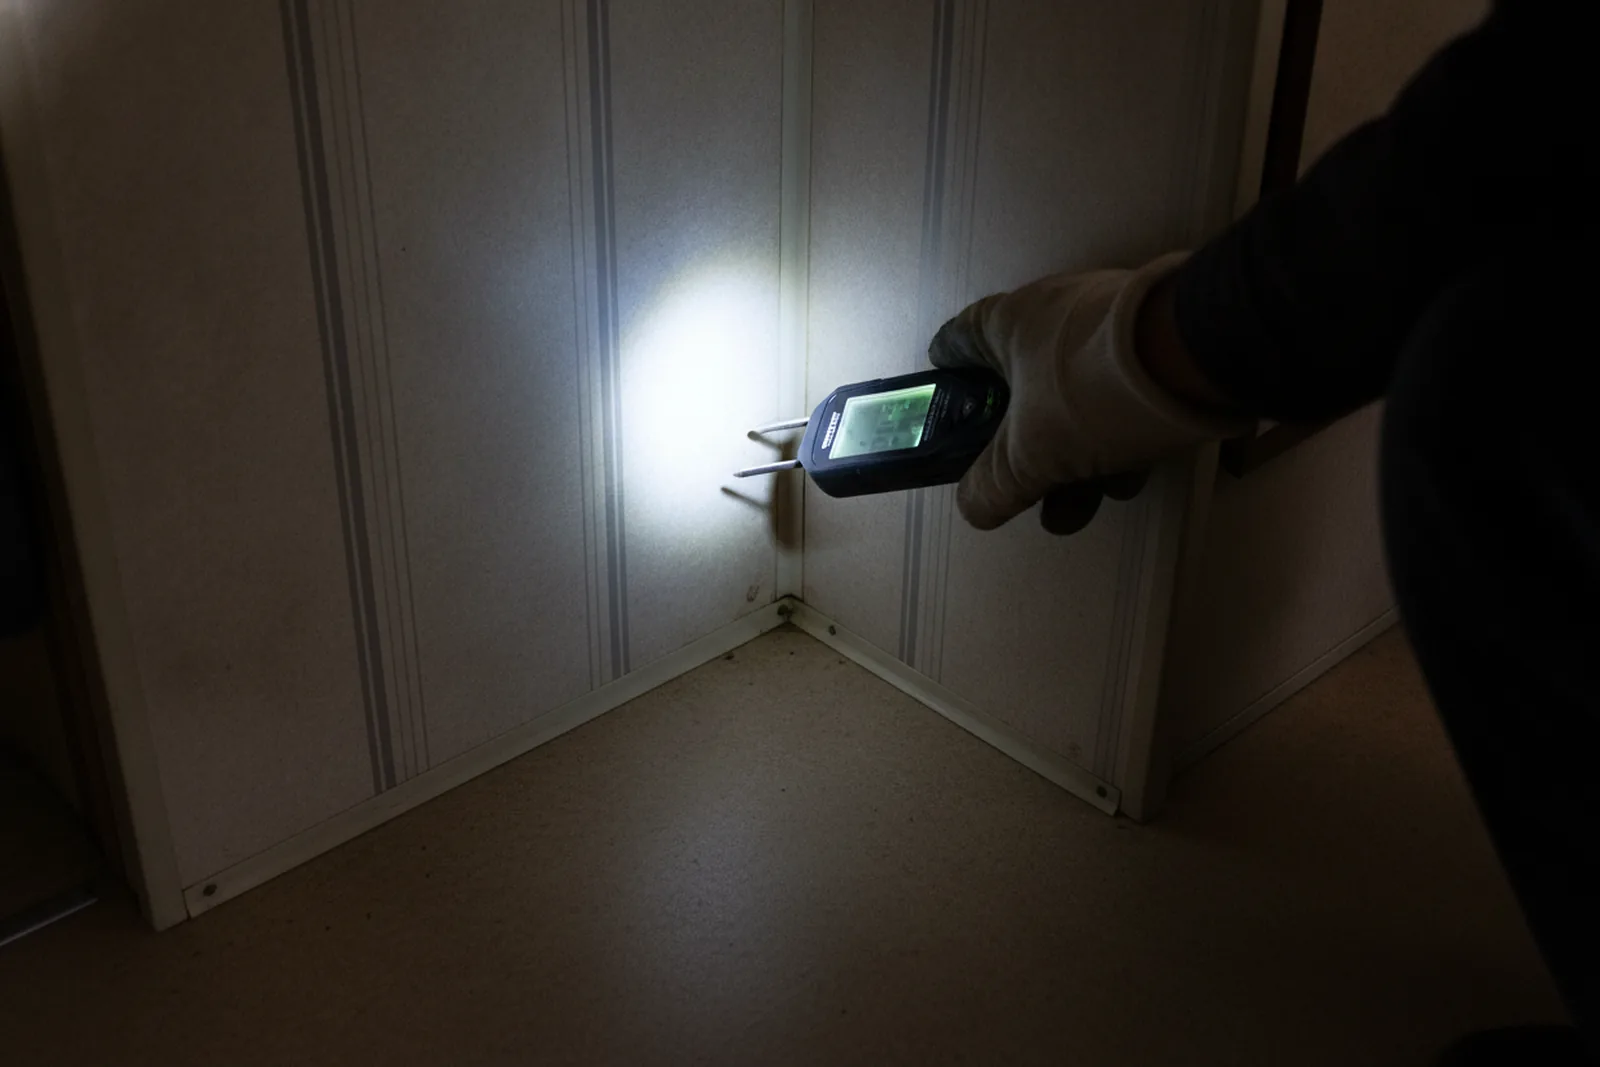
After the roof, I go inside the rig and pull evry vent trim ring, the inside skylight garnish, and the AC shroud. In a laminated sidewall rig, water from a roof leak can travel down inside the wall and show up as a small crack or bulge at the top of the wall, not on the ceiling. If you see ripple in the wall vinyl or the wallpaper has pulled away from the ceiling line, note the location and then call it into an inspection, and for slides, see our RV slide-out inspection guide. A little wrinkling can come from heat, but a crisp horizontal line of damage is water. Keep a flashlight parallel to the wall; it shows stains you would miss in normal light.
The printable roof-inspection checklist
This is the list I hand to owners before they climb the ladder.
- Ladder: 3 feet above the roofline, base 1/4 of height away from the wall, no twists. Wiggle the ladder; it should not move.
- Roof surface: clean of debris. Check for punctures, tears, open seams, exposed staples or screws.
- Front and rear cap seams: sealant soft, pressed tight, no gaps or lifting. Press every 6 inches.
- Side seams at the roof edge: same check, both sides, full lenght.
- Penetrations: roof vents, plumbing vents, skylights, antenna base, AC base. Check the full lap sealant ring.
- Solar mounts: sealant under the feet, no cracked screws or lifted edges.
- Lap sealant condition: no cracks through the bead, no chalk dust, still flexible. If it is brittle in one spot, check the rest carefully; sealant can fail unevenly.
- Membrane: no chalking beyond normal, no ponding outlines, no soft spots. Press tentatively with a knee or hand.
- AC gasket: compressed evenly, no gaps, bolts snug. (Do not overtighten.)
- Inside: remove vent trims; check ceilings and walls under every roof opening. Press for soft spots. Look for stains.
One more safety note: never work on a wet roof.
What a certified RV roof inspector adds
A certified RV inspector will do everything above, then more. And we photo-document everything, so you have a record if you buy the rig and find a problem a month later. If the roof is not safe to walk, I use a drone or a hooked selfie stick from the ladder. If we see suspect sealant, we note it and tell you to redo it before your first trip. The difference is often in the report: a binder of dated photos and a one-page summary you can hand to a dealer or use to negotiate a lower price. You can find certified RV inspectors nationwide for this kind of check.
My one hard rule about roof sealant
After fifteen years of poking at roof caulk, my one hard rule is this: when in doubt, redo it. By then the decking under the membrane may already be wet and rotting.
This weekend, take an hour and walk your roof if it is safe, or use a ladder from the ground. Run your thumb along the sealant around every opening. If it lifts or cracks at all, plan to scrape and repaint that area. If you cannot get on the roof and do not have a drone, call a couple of certified RV inspectors and ask what they charge for a roof-only check. It is offen less then a half-day of shop labor, and it can find the thing you cannot see from below.
Before you book an inspector
FAQ
How often should I inspect my RV roof?
At least twice a year, and before any long trip. Most owners check the roof in the spring and fall. I also do a quick look after any storm with hail or high winds. If you store the rig under trees, check every month for limbs and acorns. The sealant around vents can crack in a single summer from UV, so twice a year is a good minimum for rubber roofs.
Can I walk on my RV roof?
Only if the manufacturer says so. Many rubber and TPO roofs are rated for foot traffic, and a factory sticker near the roof edge or in the owner's manual will tell you. Fiberglass roofs are usually walkable but can be slick when wet. If you do not know, or if the roof is soft or wet, do not walk on it. Use a ladder, a drone, or a pole camera instead.
What kind of sealant should I use on my RV roof?
Use self-leveling lap sealant for flat surfaces and non-sag (or non-sileveling) sealant for vertical seams and sidewalls. Both are availible as an RV-specific product. Never use silicone on a rubber or TPO roof; it does not stick well and later repairs will not either. For aluminum or fiberglass, check the roof maker's compatibility list first.
My roof sealant is cracked but not leaking. Do I have to fix it now?
Yes. Cracks in sealant mean water can get under the edge, even if you have not seen a leak inside. That water can wet the roof decking and cause rot that you will not notice until the whole roof sags. Scrape off the old cracked sealant, clean the area with a safe cleaner, and apply new lap sealant. It is often a one-hour job and a tube of sealant.
Why does my RV roof have brown streaks?
Brown streaks on the sides of an RV usually come from water streaming off a roof that has dried dirt, pollen, or old sealant on its surface. On a rubber roof, the water picks up the white pigment or other residue and runs down the side. It is often cosmetic and washes off. But streaks that leave a stain on the aluminum or fiberglass may mean corrosion, so check for leaks and wash the roof surface.
What does a certified RV roof inspection cost?
A roof-only inspection from a certified RV inspector typically runs a few hundred dollars, depending on your area and rig size. A full pre-purchase inspection includes the roof and typically costs a few hundred to over a a thousand dollars, depending on the rig and inspector. Ask the inspector if the roof-only check includes a moisture meter scan and photos of any suspect areas.
Find RV inspectors near you
Compare independent RV inspectors in your city, then ask a few for a price before you buy.
Browse by stateOr jump to: RV roof inspection · Yuma, AZ · Foley, AL · West Palm Beach, FL