RV electrical inspection: what gets tested from pedestal to outlet
By Della Marsh · October 21, 2026
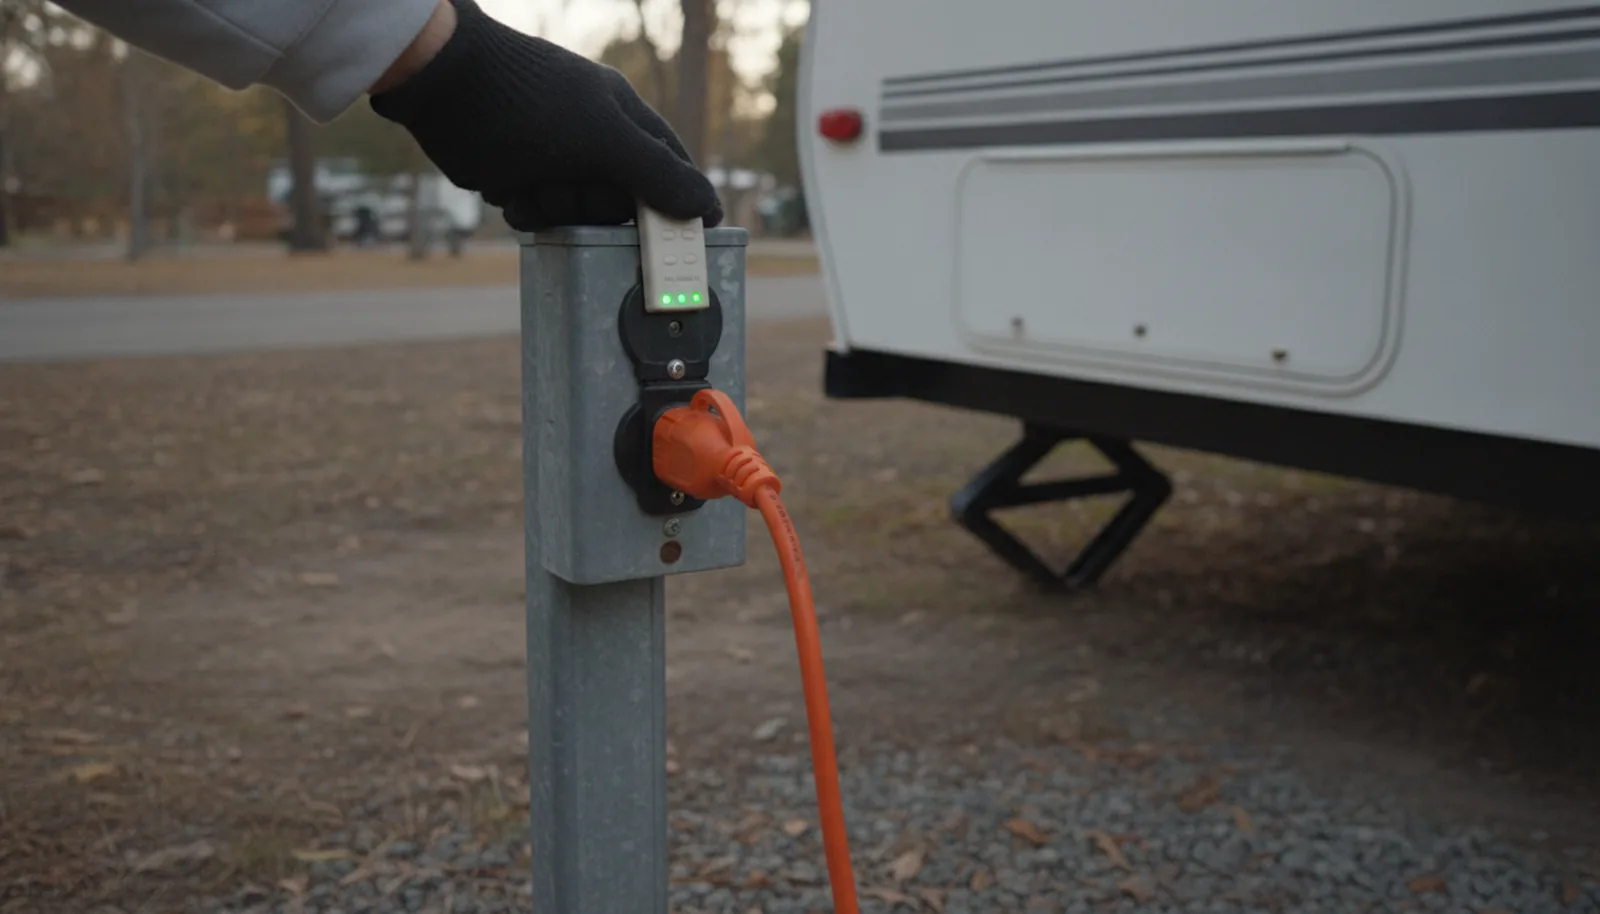
Last July I backed my trailer into a site at Lake Murray State Park in Oklahoma, plugged into the 30-amp pedestal, and an hour later I reached down to unplug the shore cord and nearly burned my hand. That was my first real taste of RV electrical inspection: heat means resistance, and resistance means trouble. I’ve seen the same thing on a fifth wheel in Denton, Texas. The 50-amp plug had a scorched neutral lug, the kind of thing that would of ruined somebody’s week if it had been ignored much longer. A full electrical check from pedestal to outlets would have caught both long before they became stories.
I check certified RV inspectors in Austin every few months because Texas is big and the same heat and humidity that tests air conditioners also tests every electrical connection on a rig. Most of what I do on the electrical side is visual and functional, same as a home inspection. I look, I measure, I flip switches. I don’t open live panels and I don’t dig into things I cant see. If you’re around Dallas-Fort Worth, that Austin list is a decent start for seeing what a real-world RV electrical inspection covers.
What an RV Electrical Inspection Actually Tests
A full RV electrical inspection runs from the campground pedestal to the last outlet and back to the battery.
The NRVIA Standards of Practice call for visual and functional testing only. That means I look, I measure, I operate, but I don’t open up panels live and I don’t go poking at things I can’t see. RV inspectors across Texas work from the same standard, so what I say here applies to most of us.
Step 1: Shore Cord and Plug
Start at the pedestal.
With the cord unplugged, I give the plug a gentle tug while holding the cord itself. A little play is fine. If the blades move or there are arc marks, the end needs to be replaced. The cord jacket gets a once-over too, looking for cuts from being stepped on or dragged accross a sharp corner. On the trailer side, I open the twist-lock or threaded cover and look for corrosion. Clean terminals with a little dielectric grease are okay. Corrosion means the connection has been wet at some point.
Step 2: Test the Pedestal Before You Plug In
I test the pedestal before I plug my own trailer into it. Every time.
My printed checklist for the shore side looks like this:
-
Read the lights. On a 30-amp, two amber lights mean good. On a 50-amp, you’re testing each leg separately.
-
If anything looks wrong, do not plug in. Ask for another site.
Low voltage is just as bad. Before I run the air conditioner, I plug in a voltmeter and watch what happens when I turn on the fridge and a few lights. If voltage drops below about 108 volts on a 30-amp circuit, or below about 108 on each leg of a 50-amp, I wont run the AC. Low voltage to a compressor is a slow death for that unit.
Here’s a quick video that shows the pedestal testing process step by step.
Step 3: Inside the Rig, GFCI and Outlets
Move inside and test every outlet with the same plug-in tester you’d use at home.
I’ve found GFCI outlets that look fine but don’t trip, and others that trip but don’t protect the bathroom or outside outlet they’re wired to. The little plug-in tester will tell you polarity, not whether the GFCI is wired correctly.
While I’m at it, I look at the outlet faces for heat discoloration. A scorched outlet behind the microwave is a common find. Usually the plug has been arcing or the connection inside has loosened up. Tightening a connection is five minutes. Replacing a melted outlet is about ten dollars. Ignoring it can burn the rig down.
Step 4: The Converter and Battery Charging
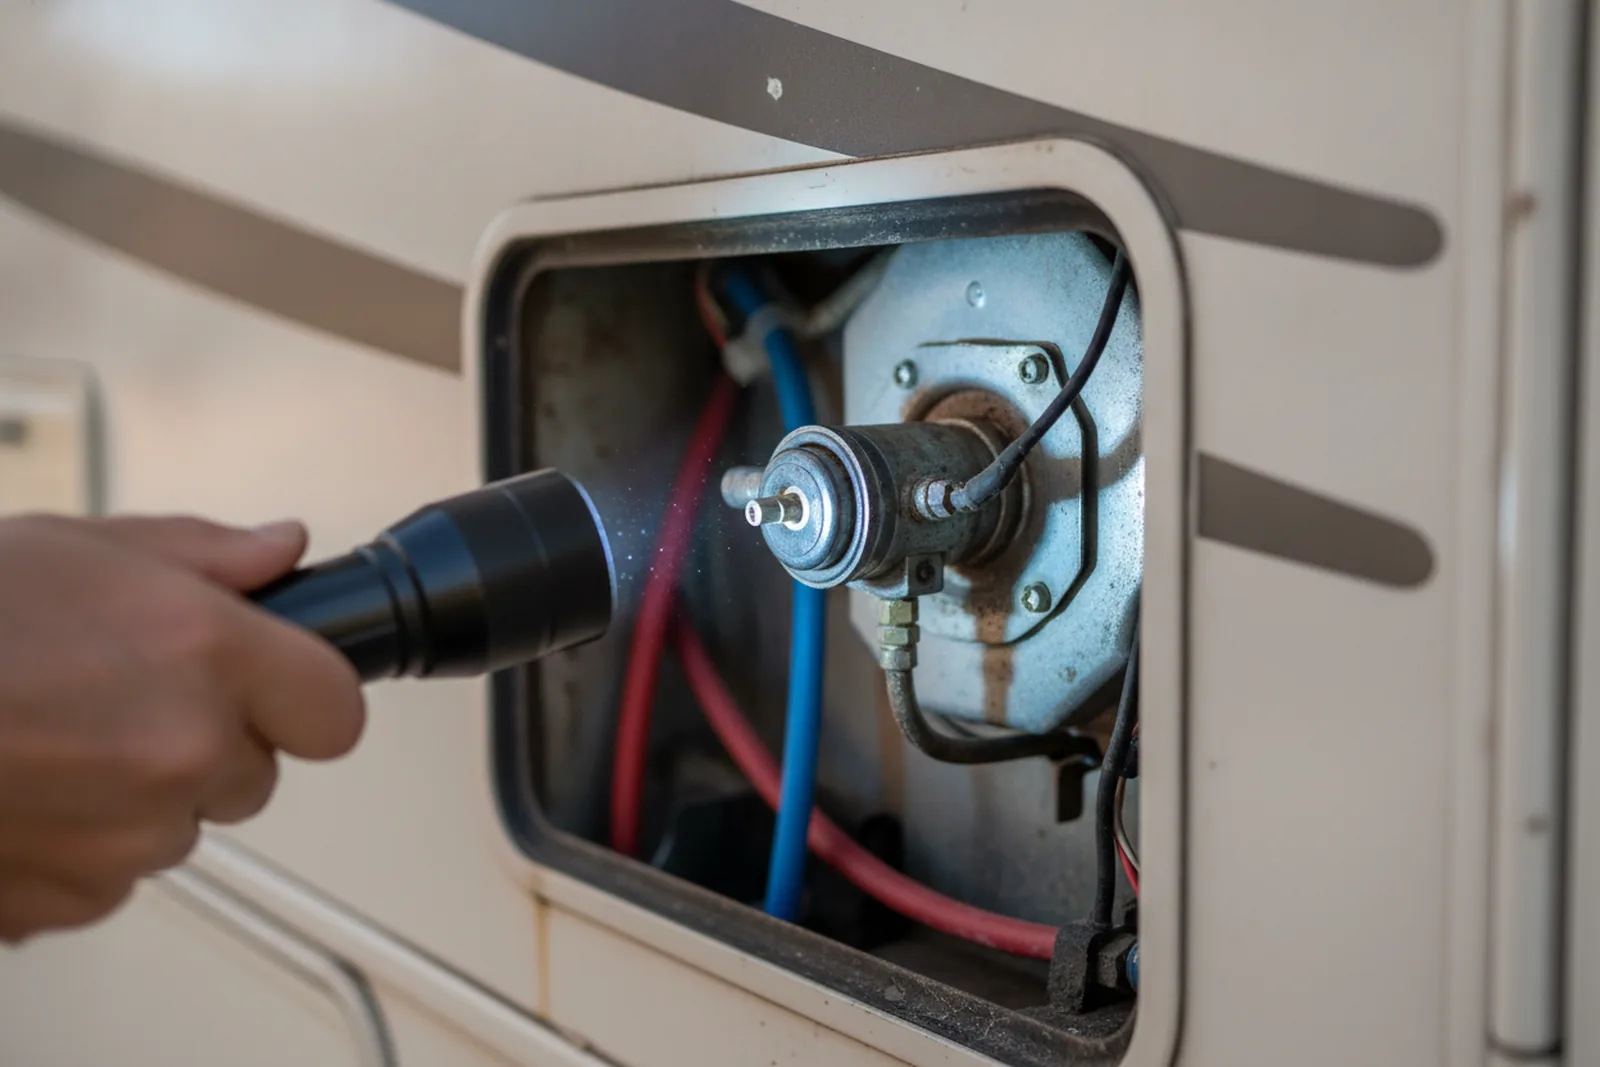
The converter turns 120-volt shore power into 12-volt DC, the stuff that runs your lights, water pump, control boards, and charges your batteries. With shore power connected and the converter running, voltage at the battery should rise to around 13.6 to 14.4 volts, depending on the converter and how charged the battery already is.
On a trailer with a failing converter, the voltage stays flat or even drops when you’re plugged in. That means the batteries aren’t being charged and you’re slowly killing them. I check for heat at the converter by putting my hand near, not on, the unit. Too hot to hold my hand near it, or it smells like hot plastic, that’s a problem.
While I’m at the batteries, I check the terminals for corrosion, the hold-downs for tightness, and the cables for cracks. A loose terminal on a house bank causes more intermittent electrical trouble than anything else.
Step 5: Transfer Switch, Generator, and Inverter
If the RV has a generator or a built-in inverter, there’s a transfer switch somewhere inside. It decides whether power comes from shore or generator, and it should switch without arcing. I listen for a solid thunk when the pedestal breaker is turned on and off. A buzzing transfer switch, or one that chatters, is a red flag.
Most transfer switches are buried behind a panel and aren’t meant for casual testing. I test from the outside. With shore power off and the generator running, voltage at an outlet should read clean. With shore power on, the generator should be isolated. Same for an inverter. When I turn on the inverter with shore power disconnected, the outlets it feeds should light up and the microwave clock should come on.
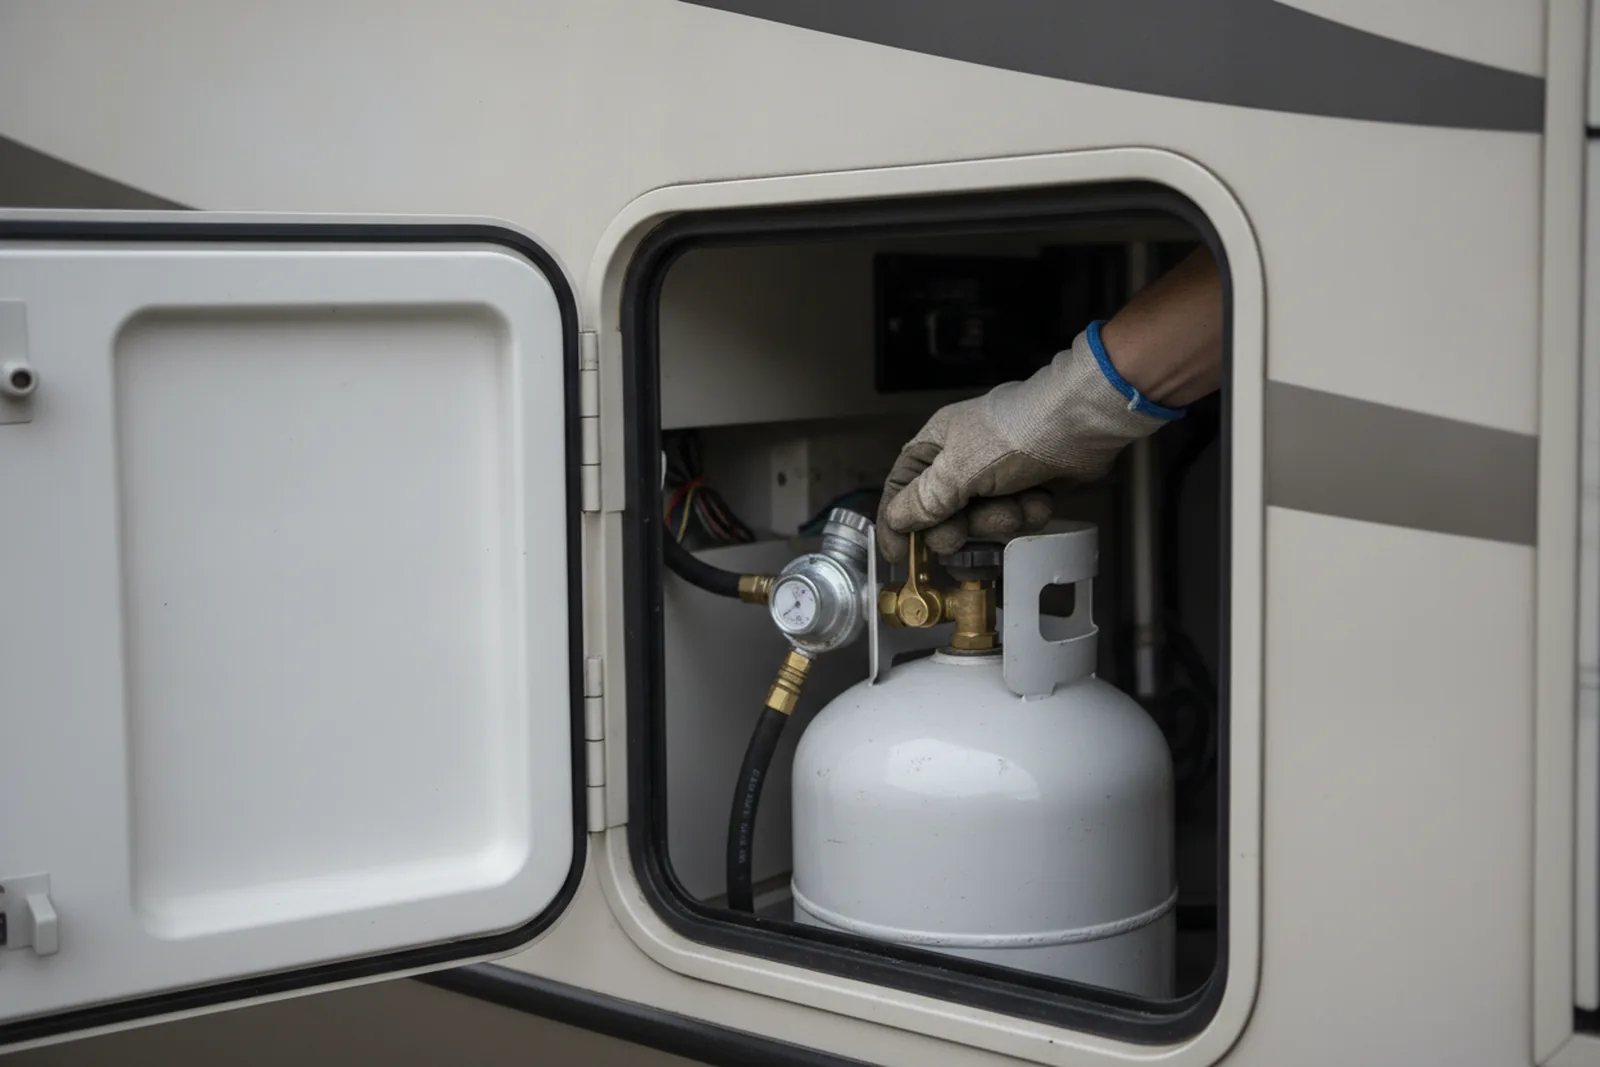
A load test on the generator goes beyond a visual inspection, but it might show up on my report as a recommendation. For propane safety, see my notes on RV propane tank inspection. For appliances, read RV appliance inspection.
Step 6: Distribution Panel and What Not to Touch
The distribution panel is where the 120-volt breakers meet the 12-volt fuses. A visual check from the outside is safe and useful. Look for discolored breakers, signs of heat, loose covers, or wires with melted insulation visible through the opening. If the cover is warm or you see any melting, stop. Disconnect shore power and the generator before you even think about opening it.
Never open a live panel. Never try to tighten a breaker or a bus bar connection without shutting off all power sources, and even then it’s a job for an electrician or a qualified RV tech. Same for the back of the converter and any point where 120-volt wires are exposed.
I’ve been in panels where the previous owner twisted wires together and wrapped them in tape. Tape dries, falls off, and leaves a live wire floating around in there. That’s how people get hurt. If you hear crackling from the panel or see smoke, get out and turn off the pedestal breaker before you do anything else.
What I’d Tell a Friend Before They Buy Used
If I were buying a used RV tomorrow, I’d spend an hour with my own outlet tester, a voltmeter, and a flashlight before I ever called the seller. The quick tests I’ve listed here will catch many of the electrical problems I see on inspections, and they’ll tell you if a rig deserves more of your time and money.
Then I’d still have a certified inspector go thru the whole RV electrical inspection. Not because my tests missed something, although they might, but because a second set of eyes and a written report are worth the cost when you’re writing a check for $20,000 or more. Ask two or three inspectors what their report includes and what it costs for that exact rig, then pick the one who answers your questions without making you feel rushed.
Related reading
FAQ
How much does an RV electrical inspection cost?
Rates vary by inspector, region, and rig. A full pre-purchase inspection that includes electrical typically ranges from about $350 for a small travel trailer to $1,500 or more for a large motorhome, depending on the rig and inspector. Electrical-only checks may be less, but ask what the price includes. Some inspectors itemize add-ons like load tests.
Can I do my own RV electrical inspection?
You can safely test outlets, polarity, GFCI operation, and battery voltage with simple tools. A full RV electrical inspection includes items like transfer switches, panel internals, and converter output that are best left to an inspector with training and insurance. Know your limits.
What does a 30-amp vs 50-amp RV electrical system mean?
A 30-amp RV runs up to about 3,600 watts, enogh for one air conditioner and basic appliances. A 50-amp RV actualy provides two 120-volt legs for about 12,000 watts total, letting you run two air conditioners and more, though actual capacity depends on the rig. The plugs are different, and a 50-amp plug has four prongs instead of three.
How often should RV electrical systems be inspected?
I recommend a yearly electrical inspection for anyone who owns an RV and uses it regularly, but check your owner's manual and follow the manufacturer's schedule. Connections loosen from vibration, corrosion builds in damp climates, and breakers wear out. A pre-purchase inspection is a must befor buying used. If you notice heat, burning smell, or flickering lights, inspect sooner.
What is a hot skin condition on an RV?
A hot skin happens when the RV's metal frame becomes energized with 120-volt current due to a wiring fault or failed ground. We test for it with a non-contact voltage tester on the frame, hitch, and screws. It's a life-safety item that means the rig is unsafe to touch until repaired.
Why does my RV battery not charge when plugged in?
Usually it's a dead converter or a blown fuse or reversed polarity in the battery cables. Confirm the converter is receiving 120-volt power and outputting 13.6 to 14.4 volts. If it is, check the battery isolator or disconnect switch. A voltmeter at the battery terminals is the first tool to use.
Find RV inspectors near you
Compare independent RV inspectors in your city, then ask a few for a price before you buy.
Browse by stateOr jump to: Ocala, FL · Brooksville, FL · North Pole, AK